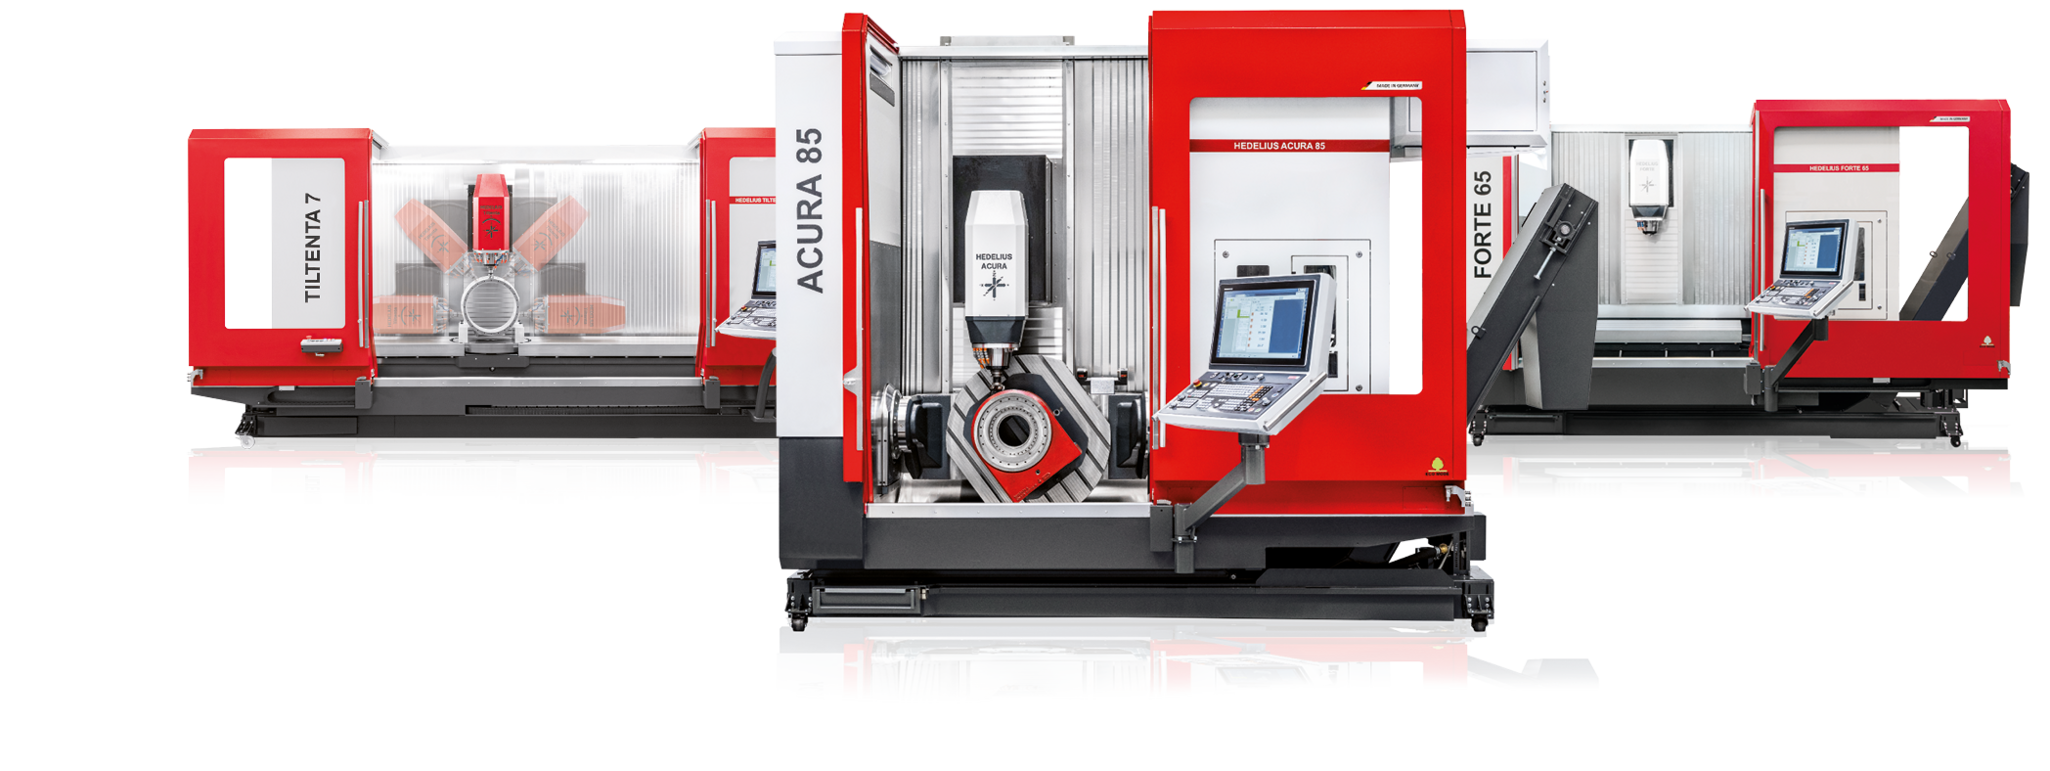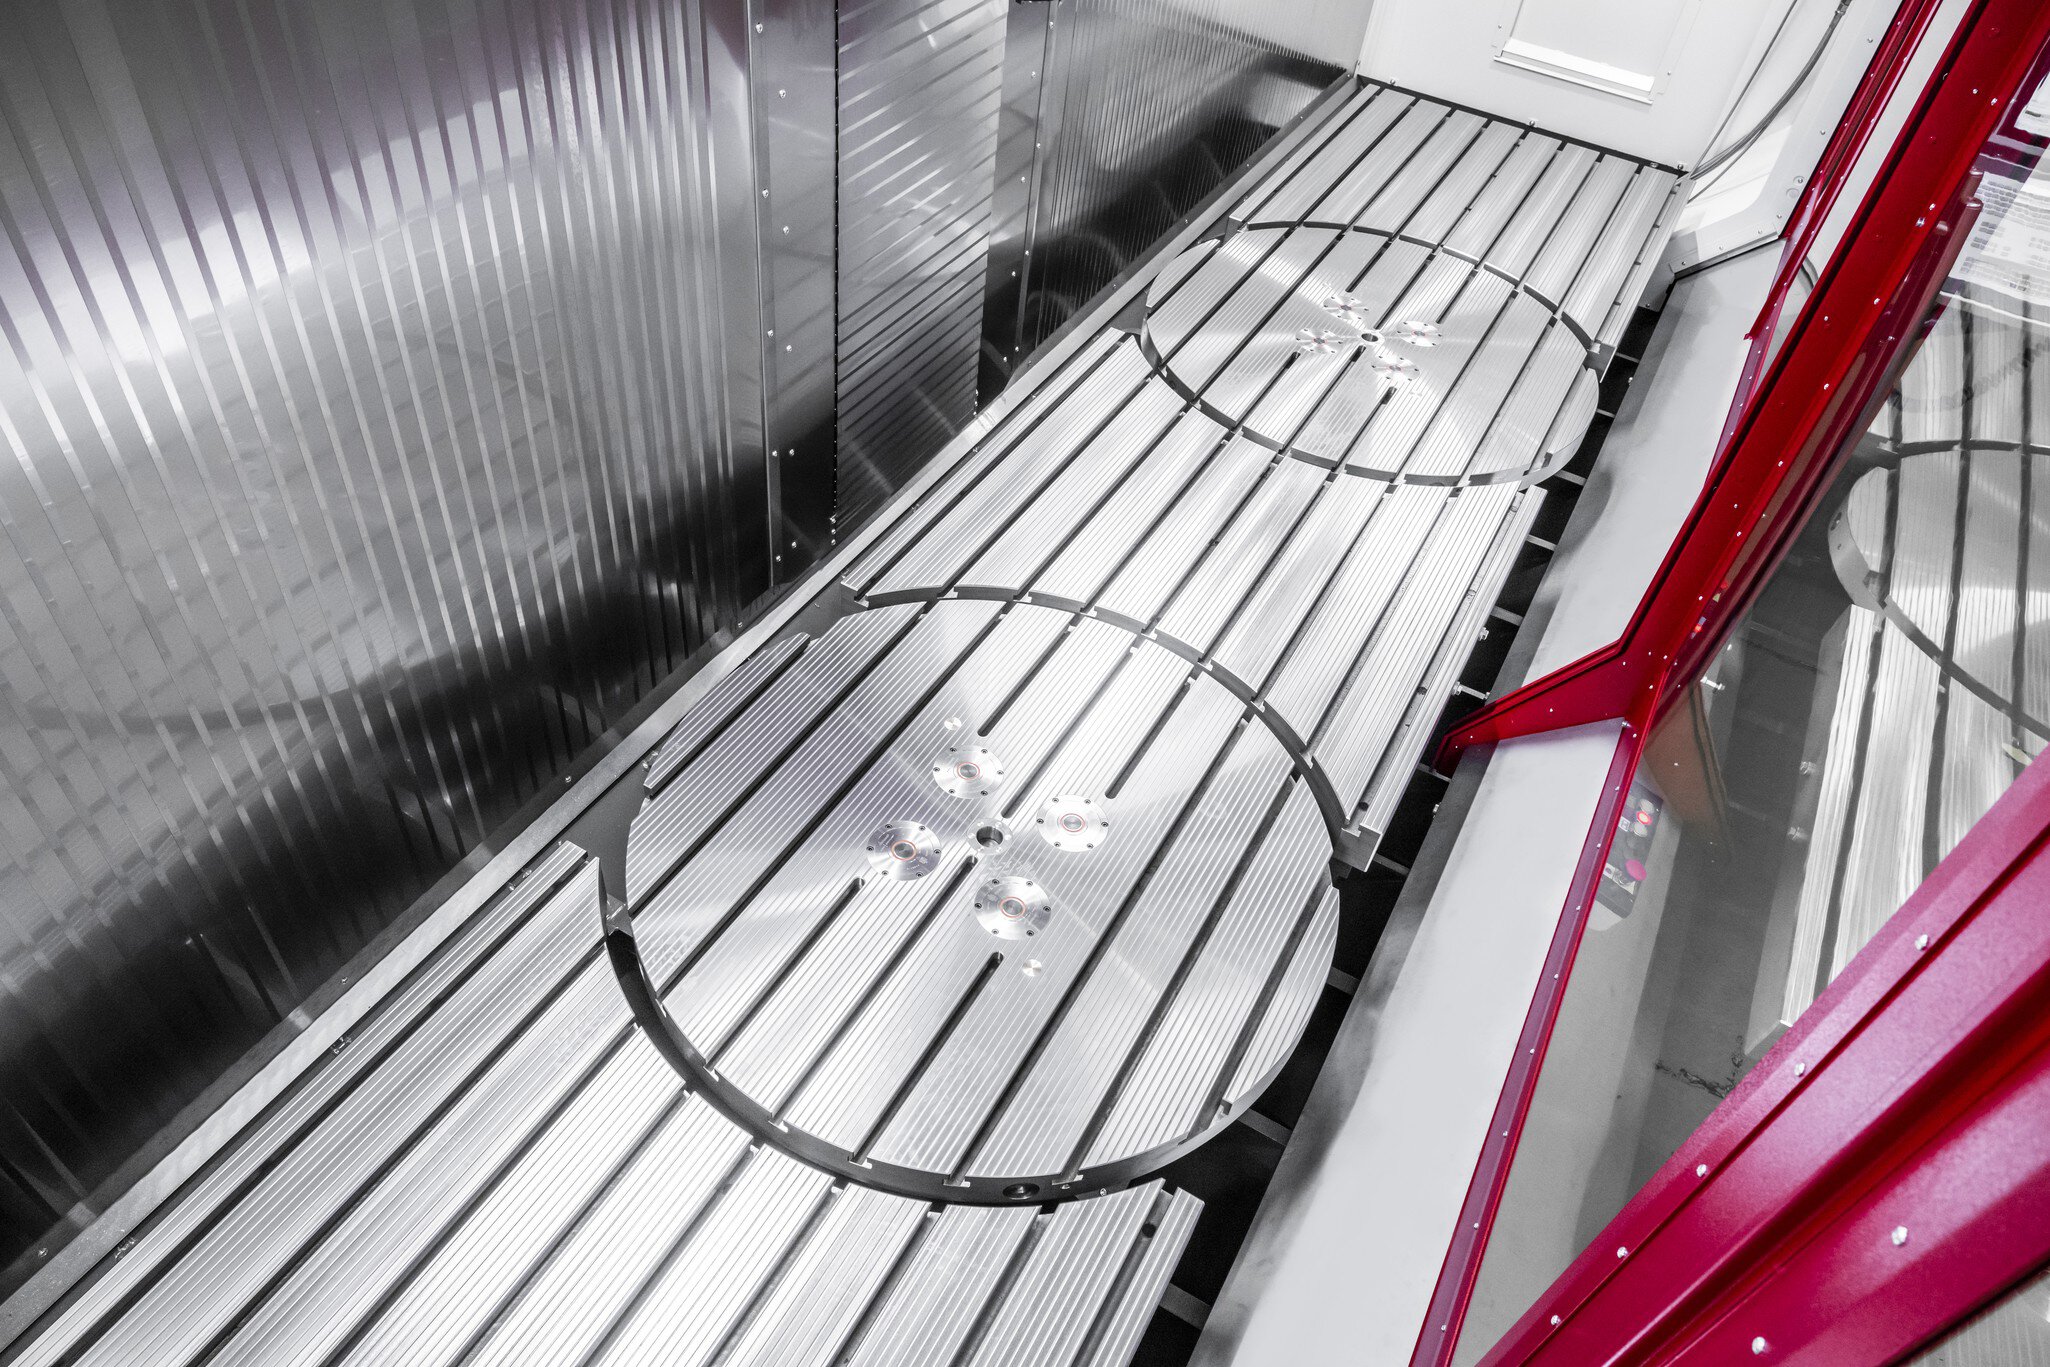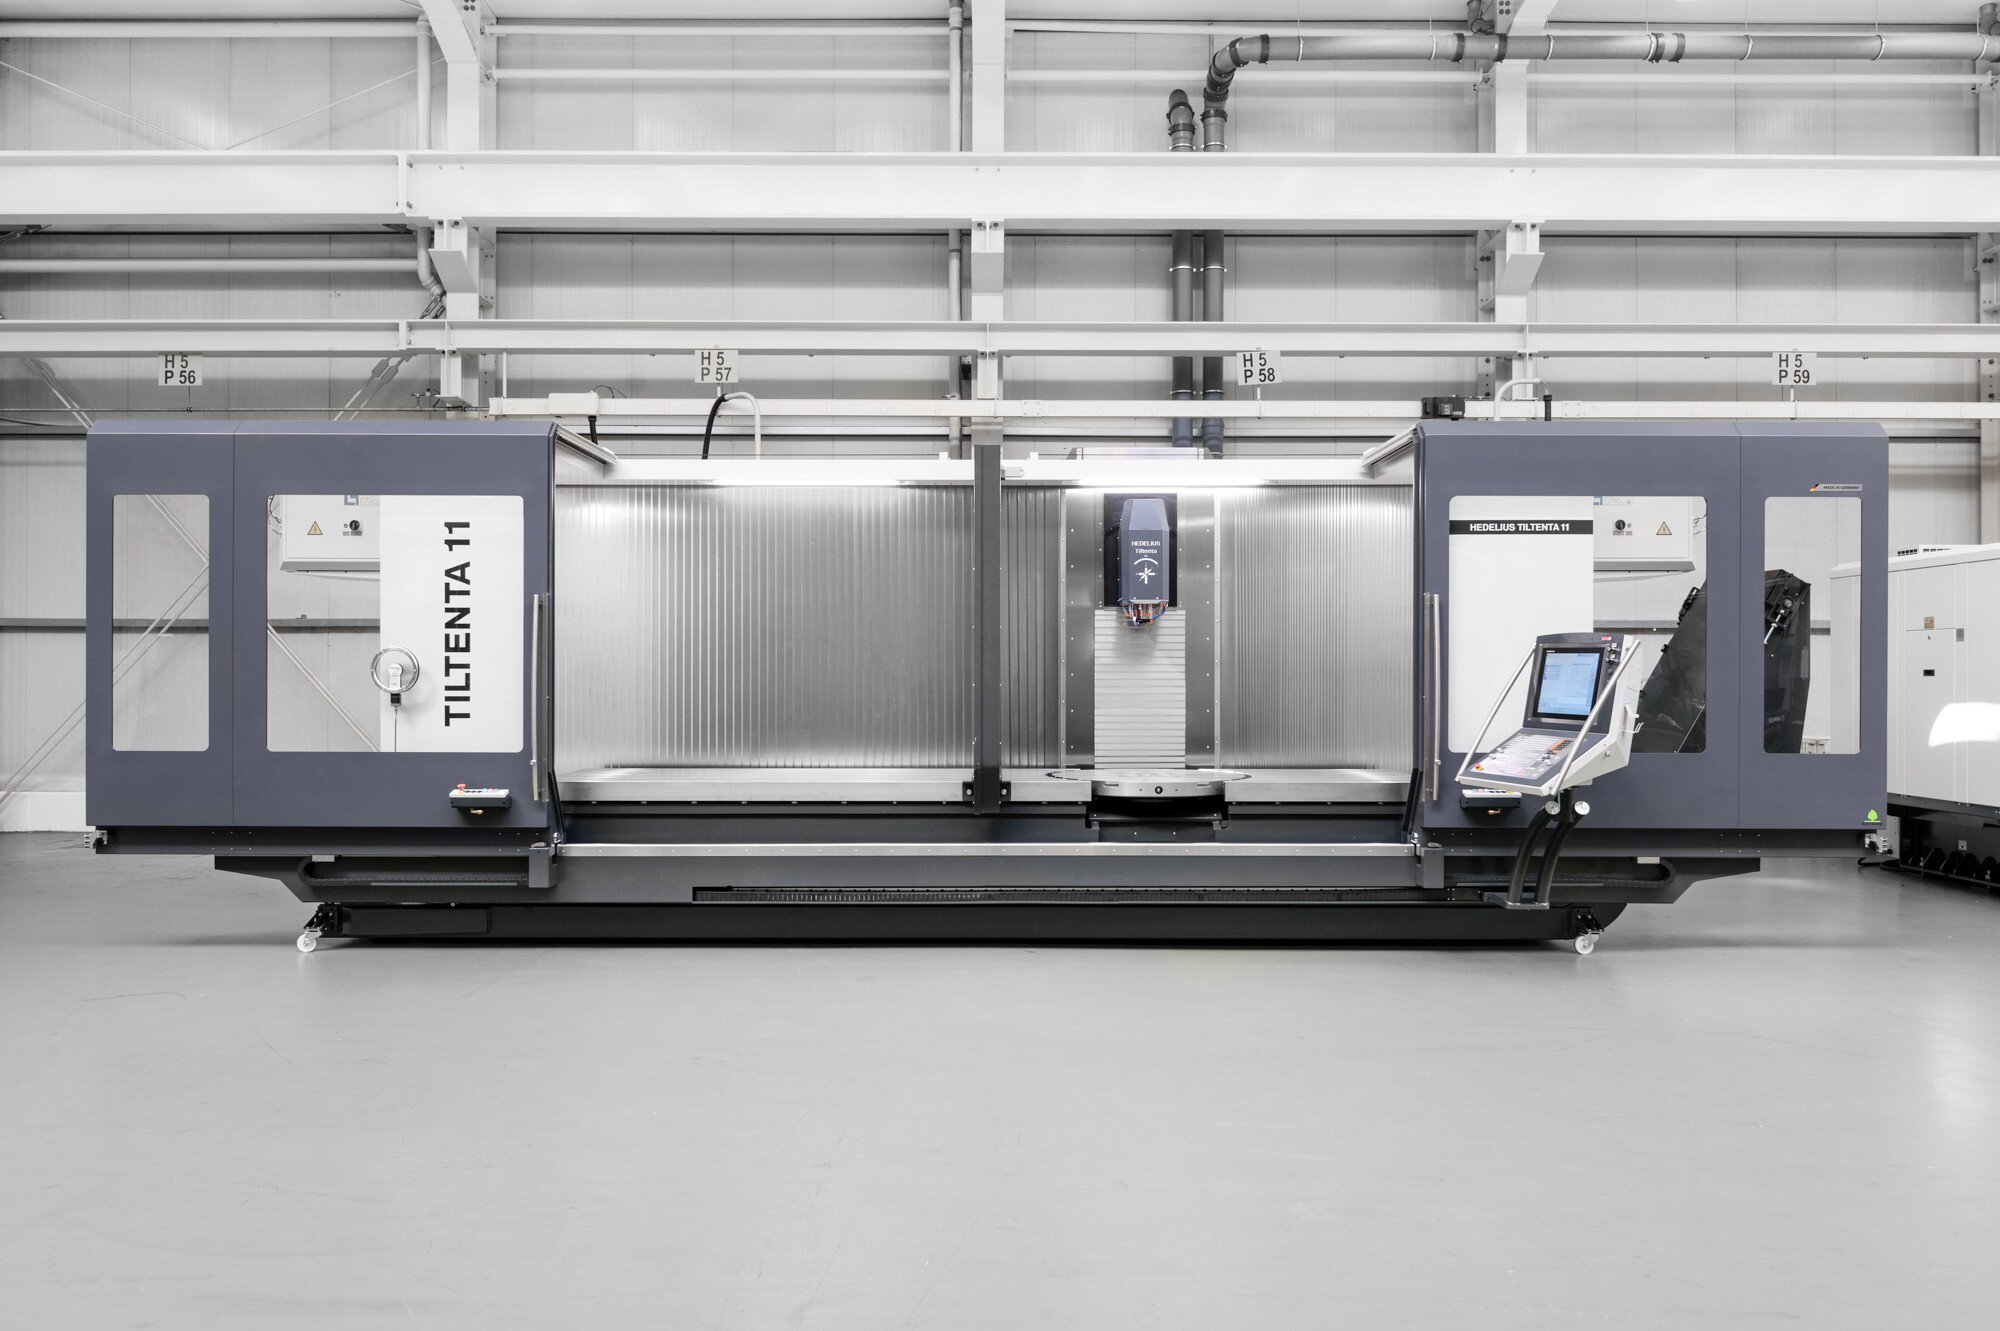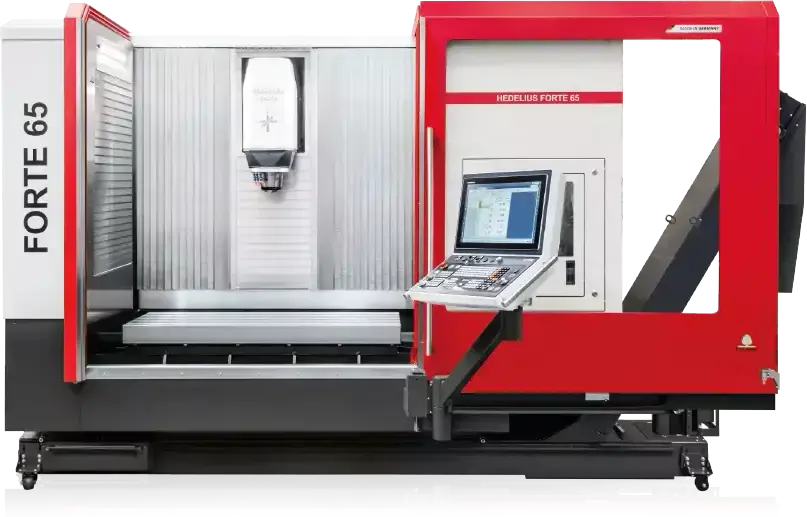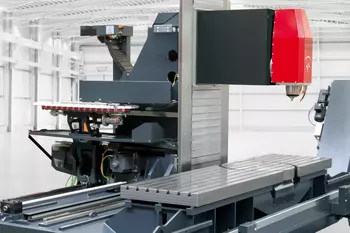
• FORTE 11-3600 Large in space and output.
    HEDELIUS 3-Achs-Bearbeitungszentrum FORTE 11-3600
3600 x 1100 x 1005 mm
Travel paths (X/Y/Z)
3600 x 1100 x 1005 mm
Travel paths
2 x 1990 x 1100 mm
Contact surface
2 x 1990 x 1100 mm
Contact surface
5000 kg
Fixed machine table max. load
5000 kg
Load fixed machine table

Vertical machining centre FORTE 11-3600

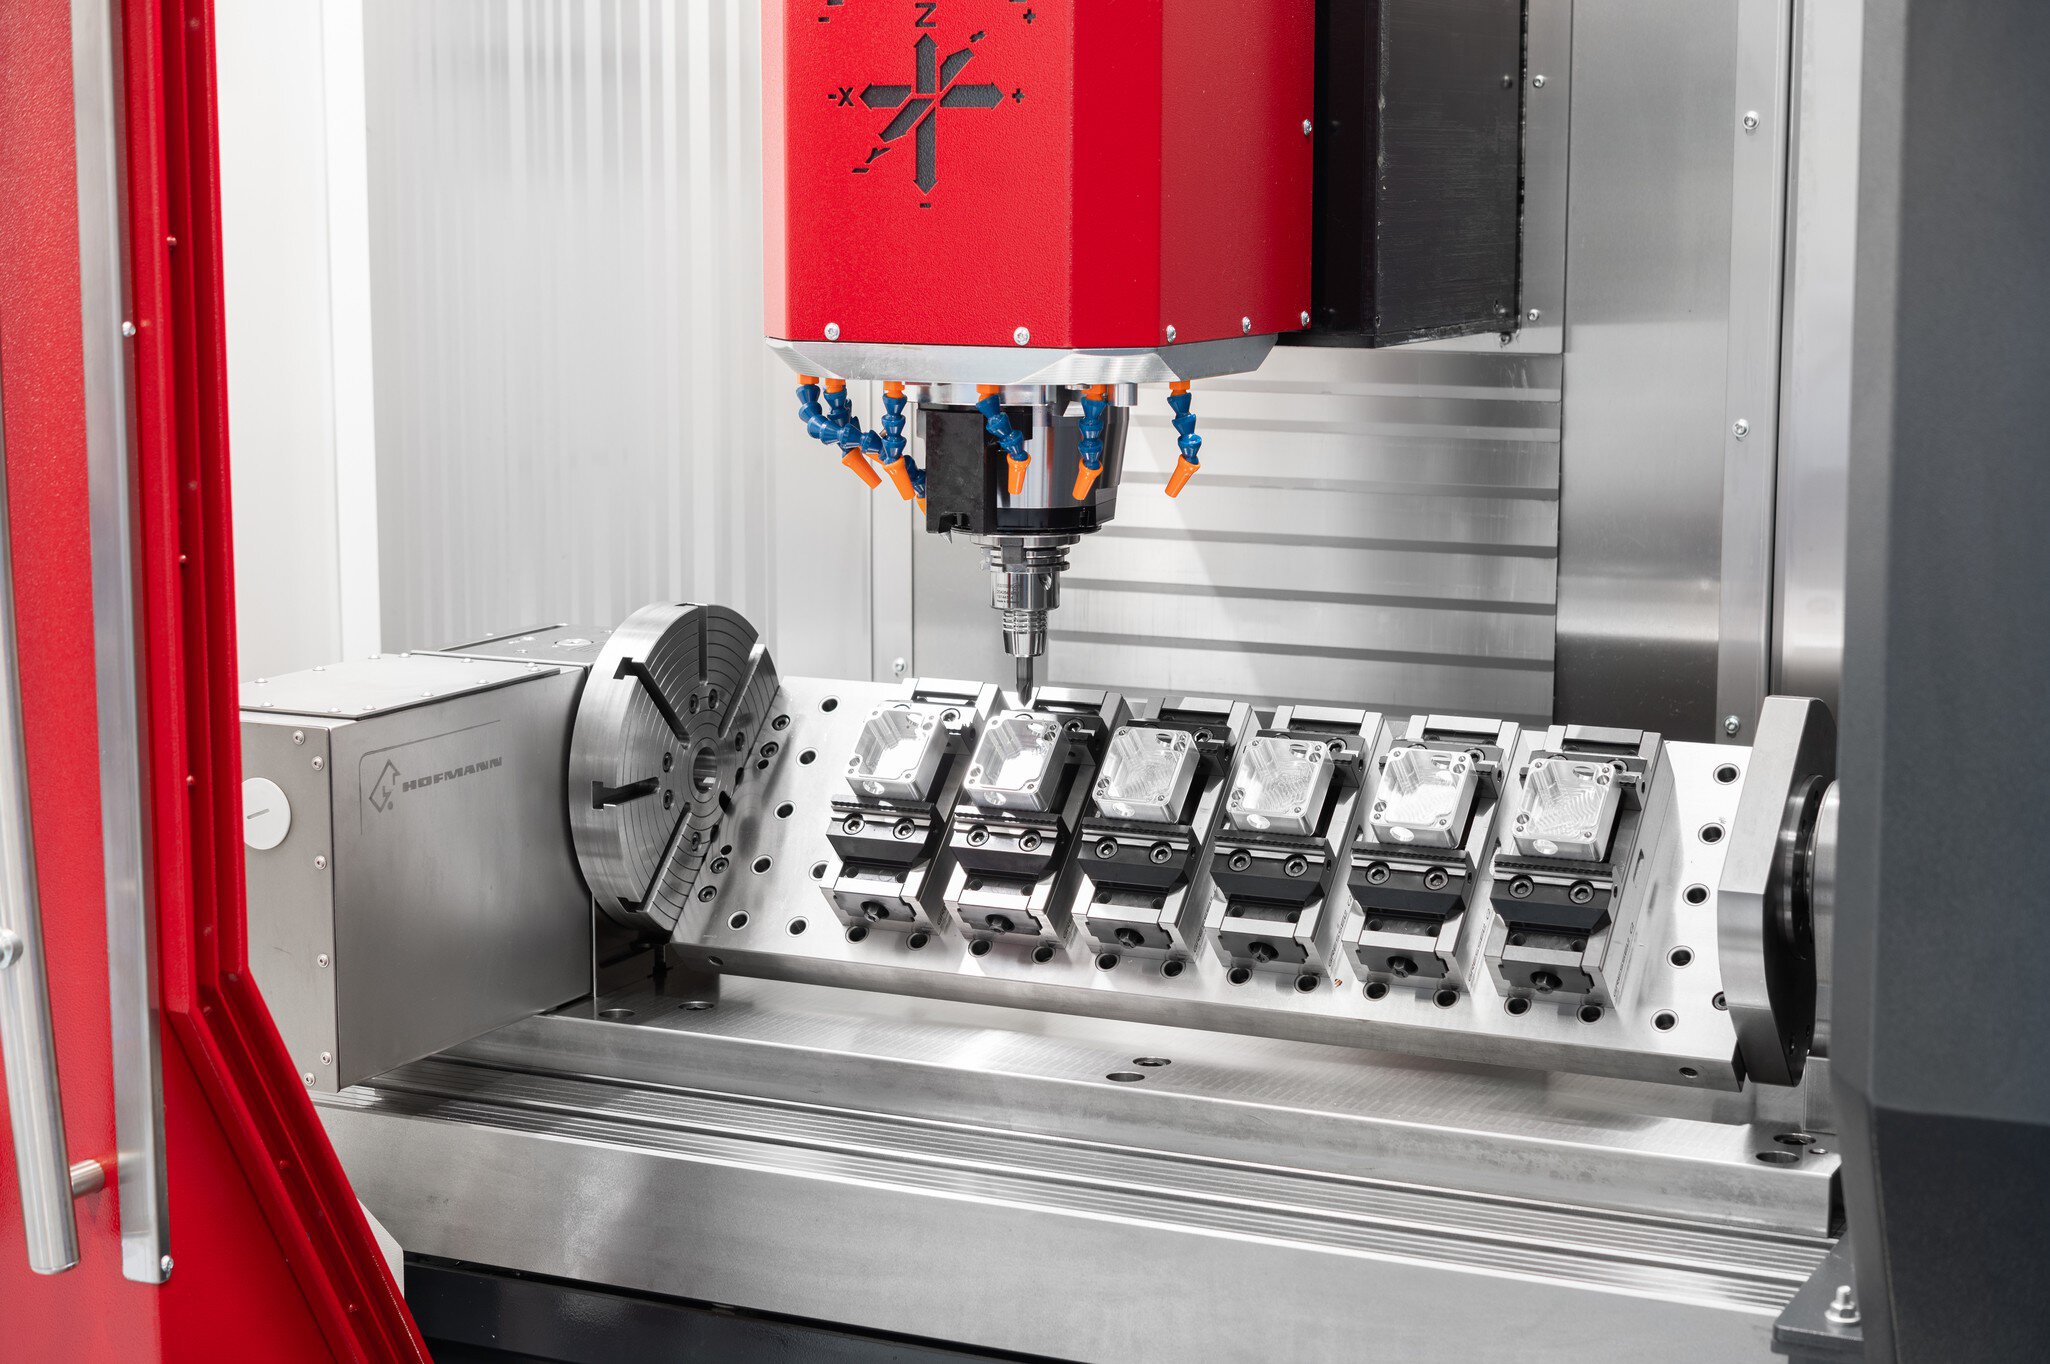
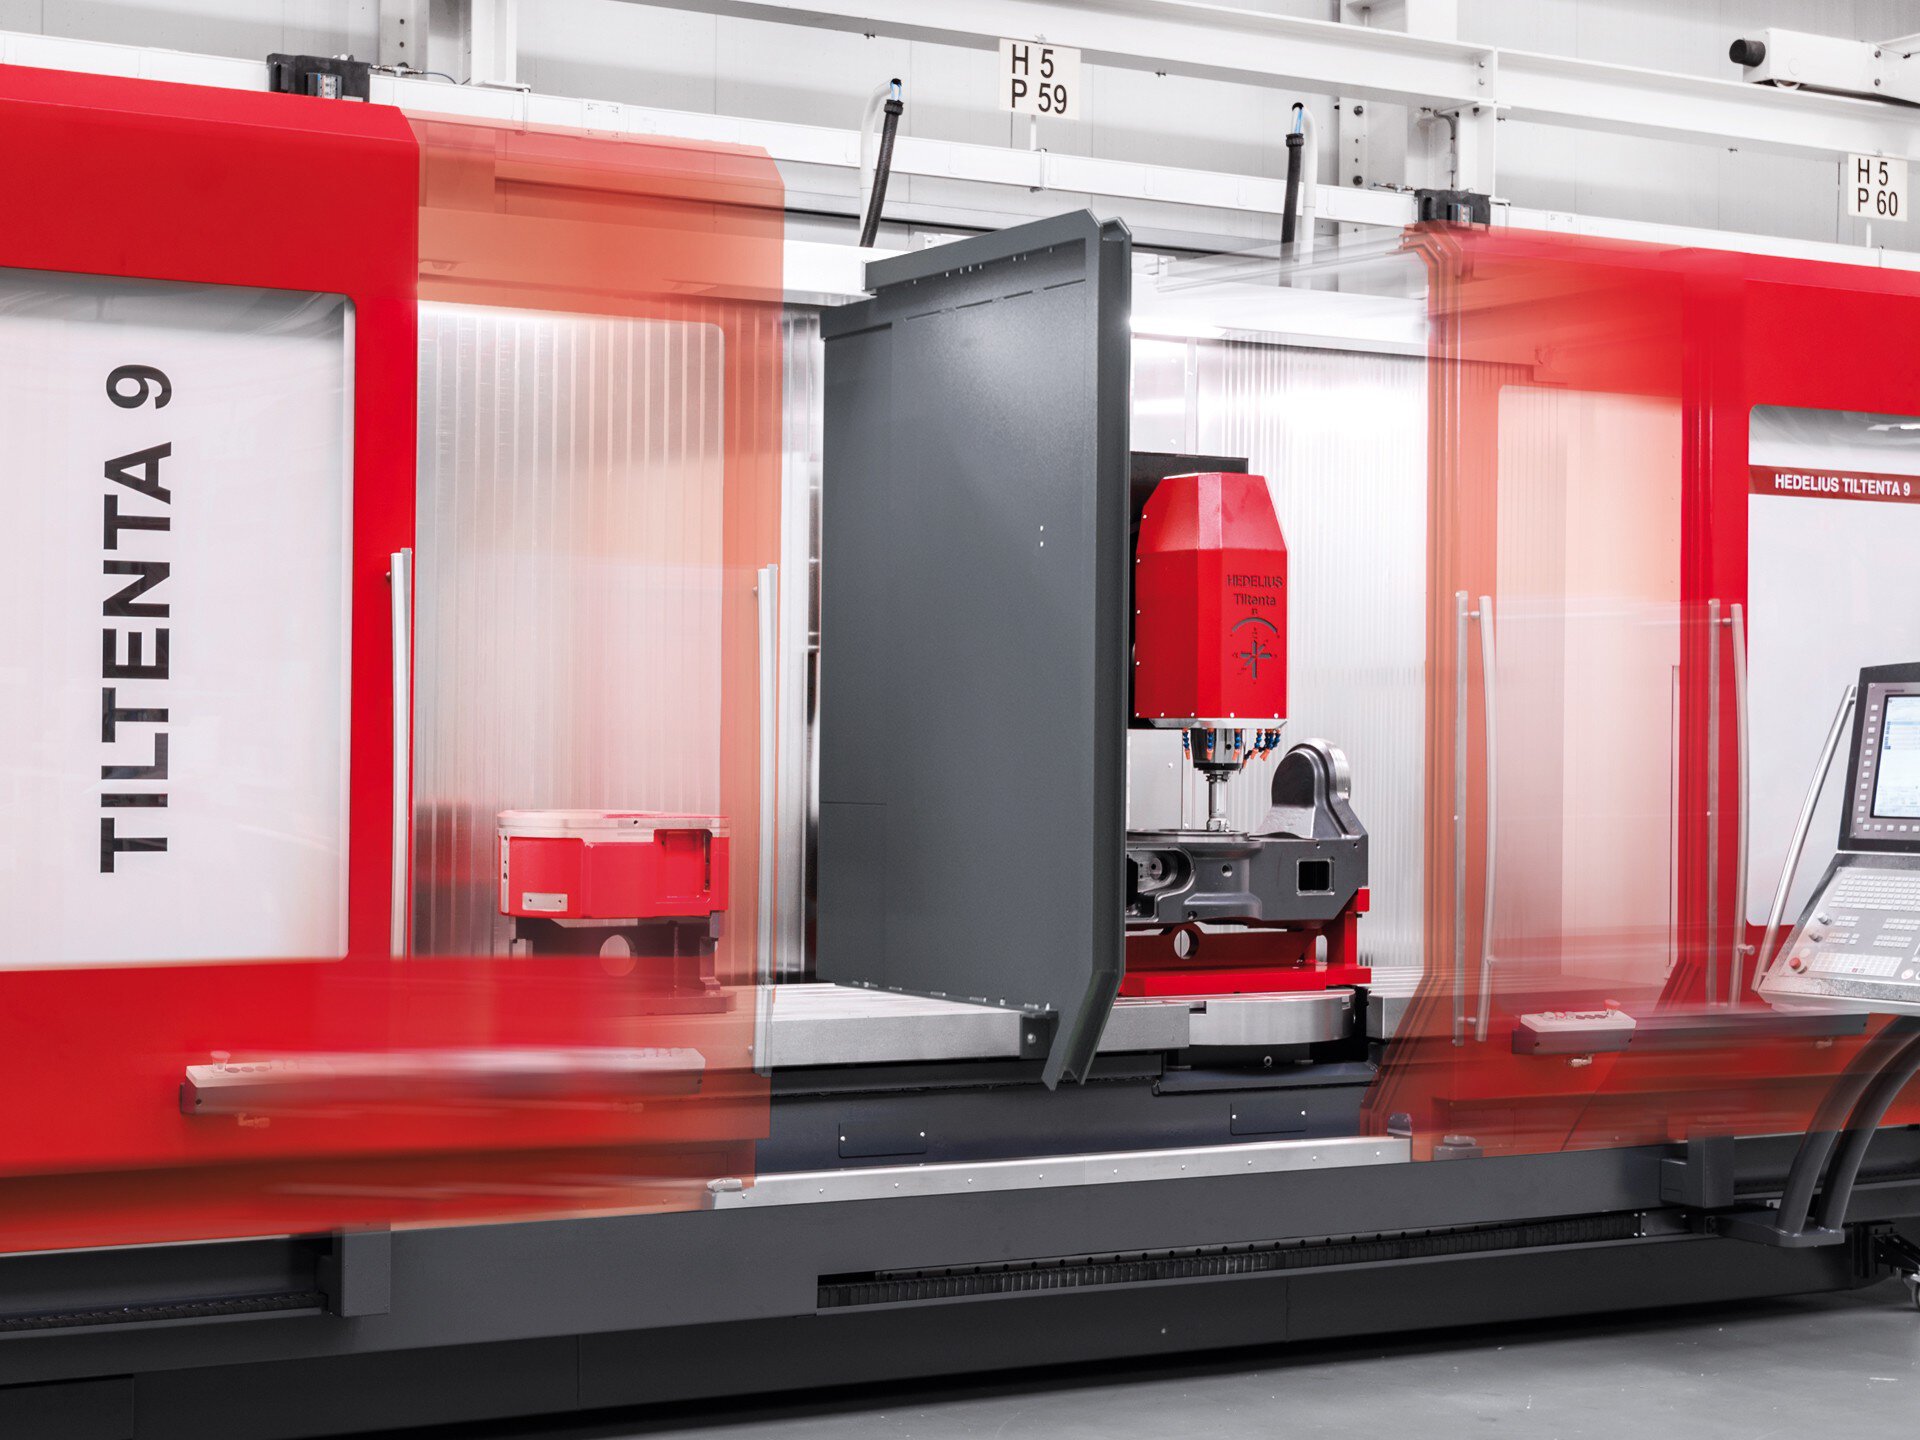
The FORTE 11-3600 3-axis machining centre impresses with its wide range of applications in various industries. Whether machine or tool construction, vehicle construction or aerospace - the FORTE series from HEDELIUS sets standards wherever long workpieces are machined economically with high precision. With the powerful milling spindles, a 65-position tool magazine as standard and the extensive range of accessories, this machining centre will become the productive centre of your production.

Your advantages with the FORTE 11-3600

  • Large Y travel path of 1100 mm
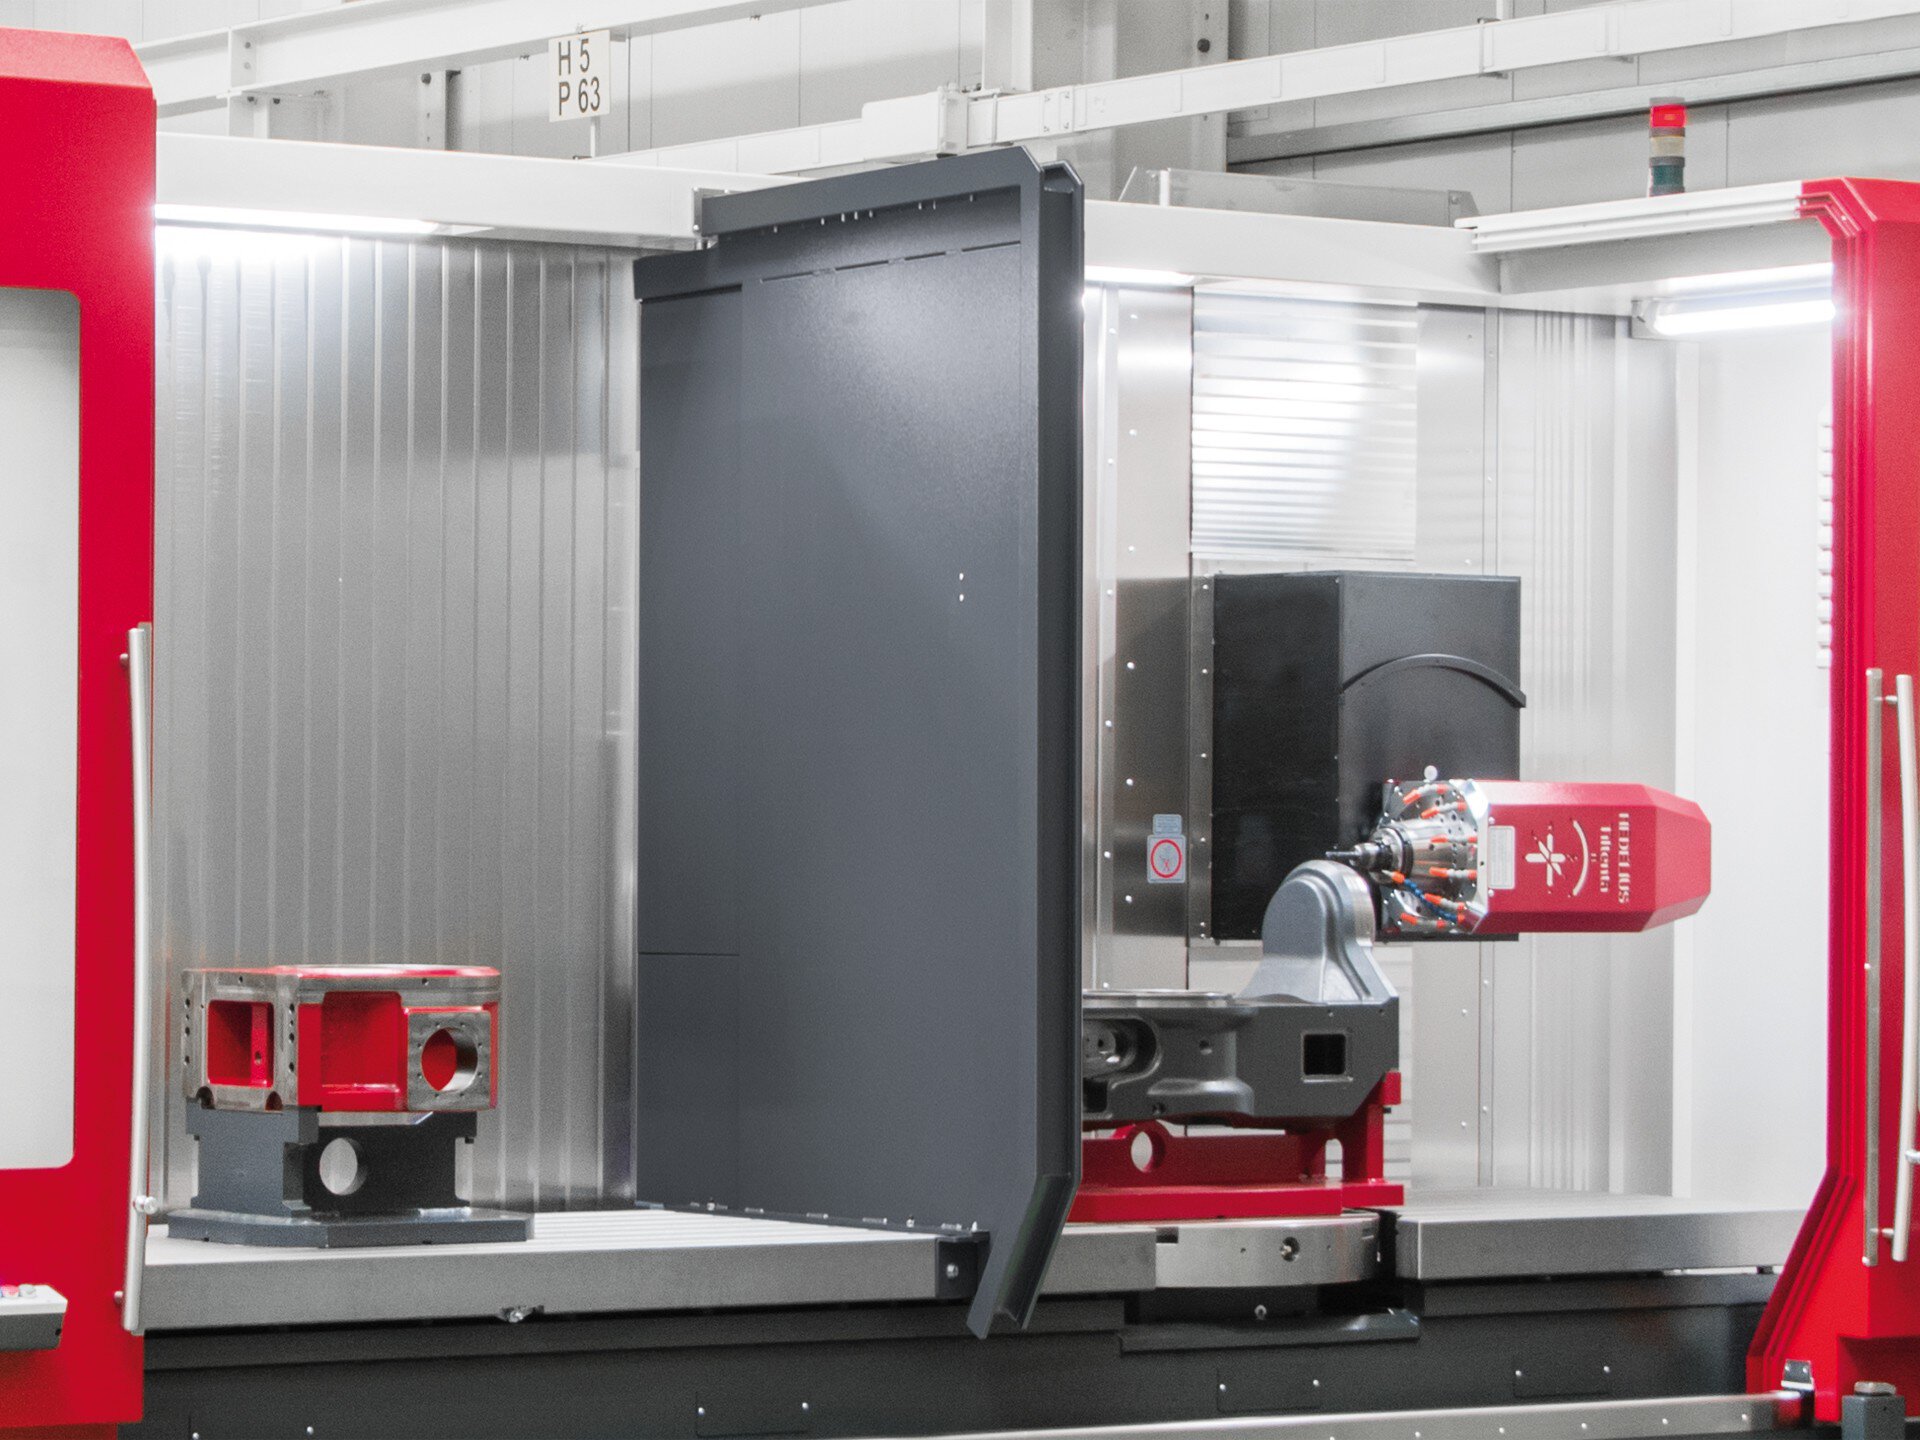
  • Fully encapsulated work area
  • Direct measuring systems
  • Powerful, liquid-cooled motorised milling spindle up to 50 kW
  • Main spindles with SK40 or optional HSK-A63 mount
  • High table load due to fixed machine table
  • 65-capacity travelling magazine
  • Main time-parallel tool preselection by double gripper for short chip-to-chip time
  • Vertical stainless steel slat cover for optimised chip fall
  • Chip conveyor optionally in right-hand or left-hand design
Arrange a consultation

Comparison of the machines.

This is where the machine comparison is created: Add further machines to compare performance parameters.

The basis of precision.

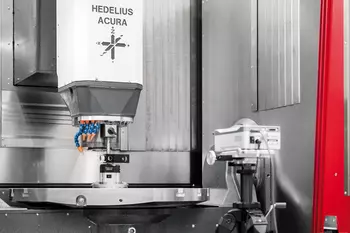
Many factors play a role in achieving a certain workpiece accuracy. On the one hand, there are the machines themselves. The type, components and software all have an influence on the machining result. However, there are also many accompanying factors to consider, from the location of the machine to measuring equipment, clamping devices and tools through to the qualifications of the employees.

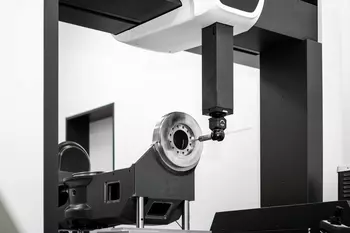
Accuracy of HEDELIUS machining centres
Sophisticated type.

Designed as universal machining centres for a wide range of applications in machine and tool construction, HEDELIUS places great weight on stability and accuracy during the design phase. The result of this process was the special HEDELIUS type with the constantly cantilevered Y-axis and the resulting high rigidity and precision over the entire travel range of the Y-axis and Z-axis.

In-house production.

Critical assemblies such as travelling columns, beds and rotating/swivelling table units are manufactured and measured in-house at HEDELIUS. As a result, we not only always keep an eye on quality, but also recognise the possibilities and limits of modern chipping in day-to-day use. This process knowledge flows permanently into improving our products and advising our customers.

Guides and straightness.

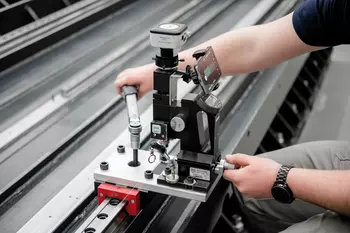
HEDELIUS uses pre-aligned roller guides from German and Swiss manufacturers. At the end of assembly, the positioning precision, repeat precision, straightness and backlash of the linear axes are finally checked and documented using a laser interferometer. The positioning accuracy of the linear axes in accordance with ISO 230-2 is regularly less than 6 µm.

IT6 circular accuracy.

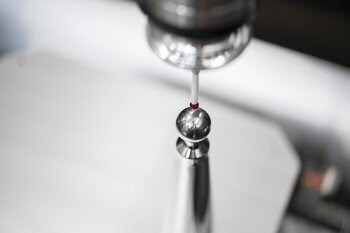
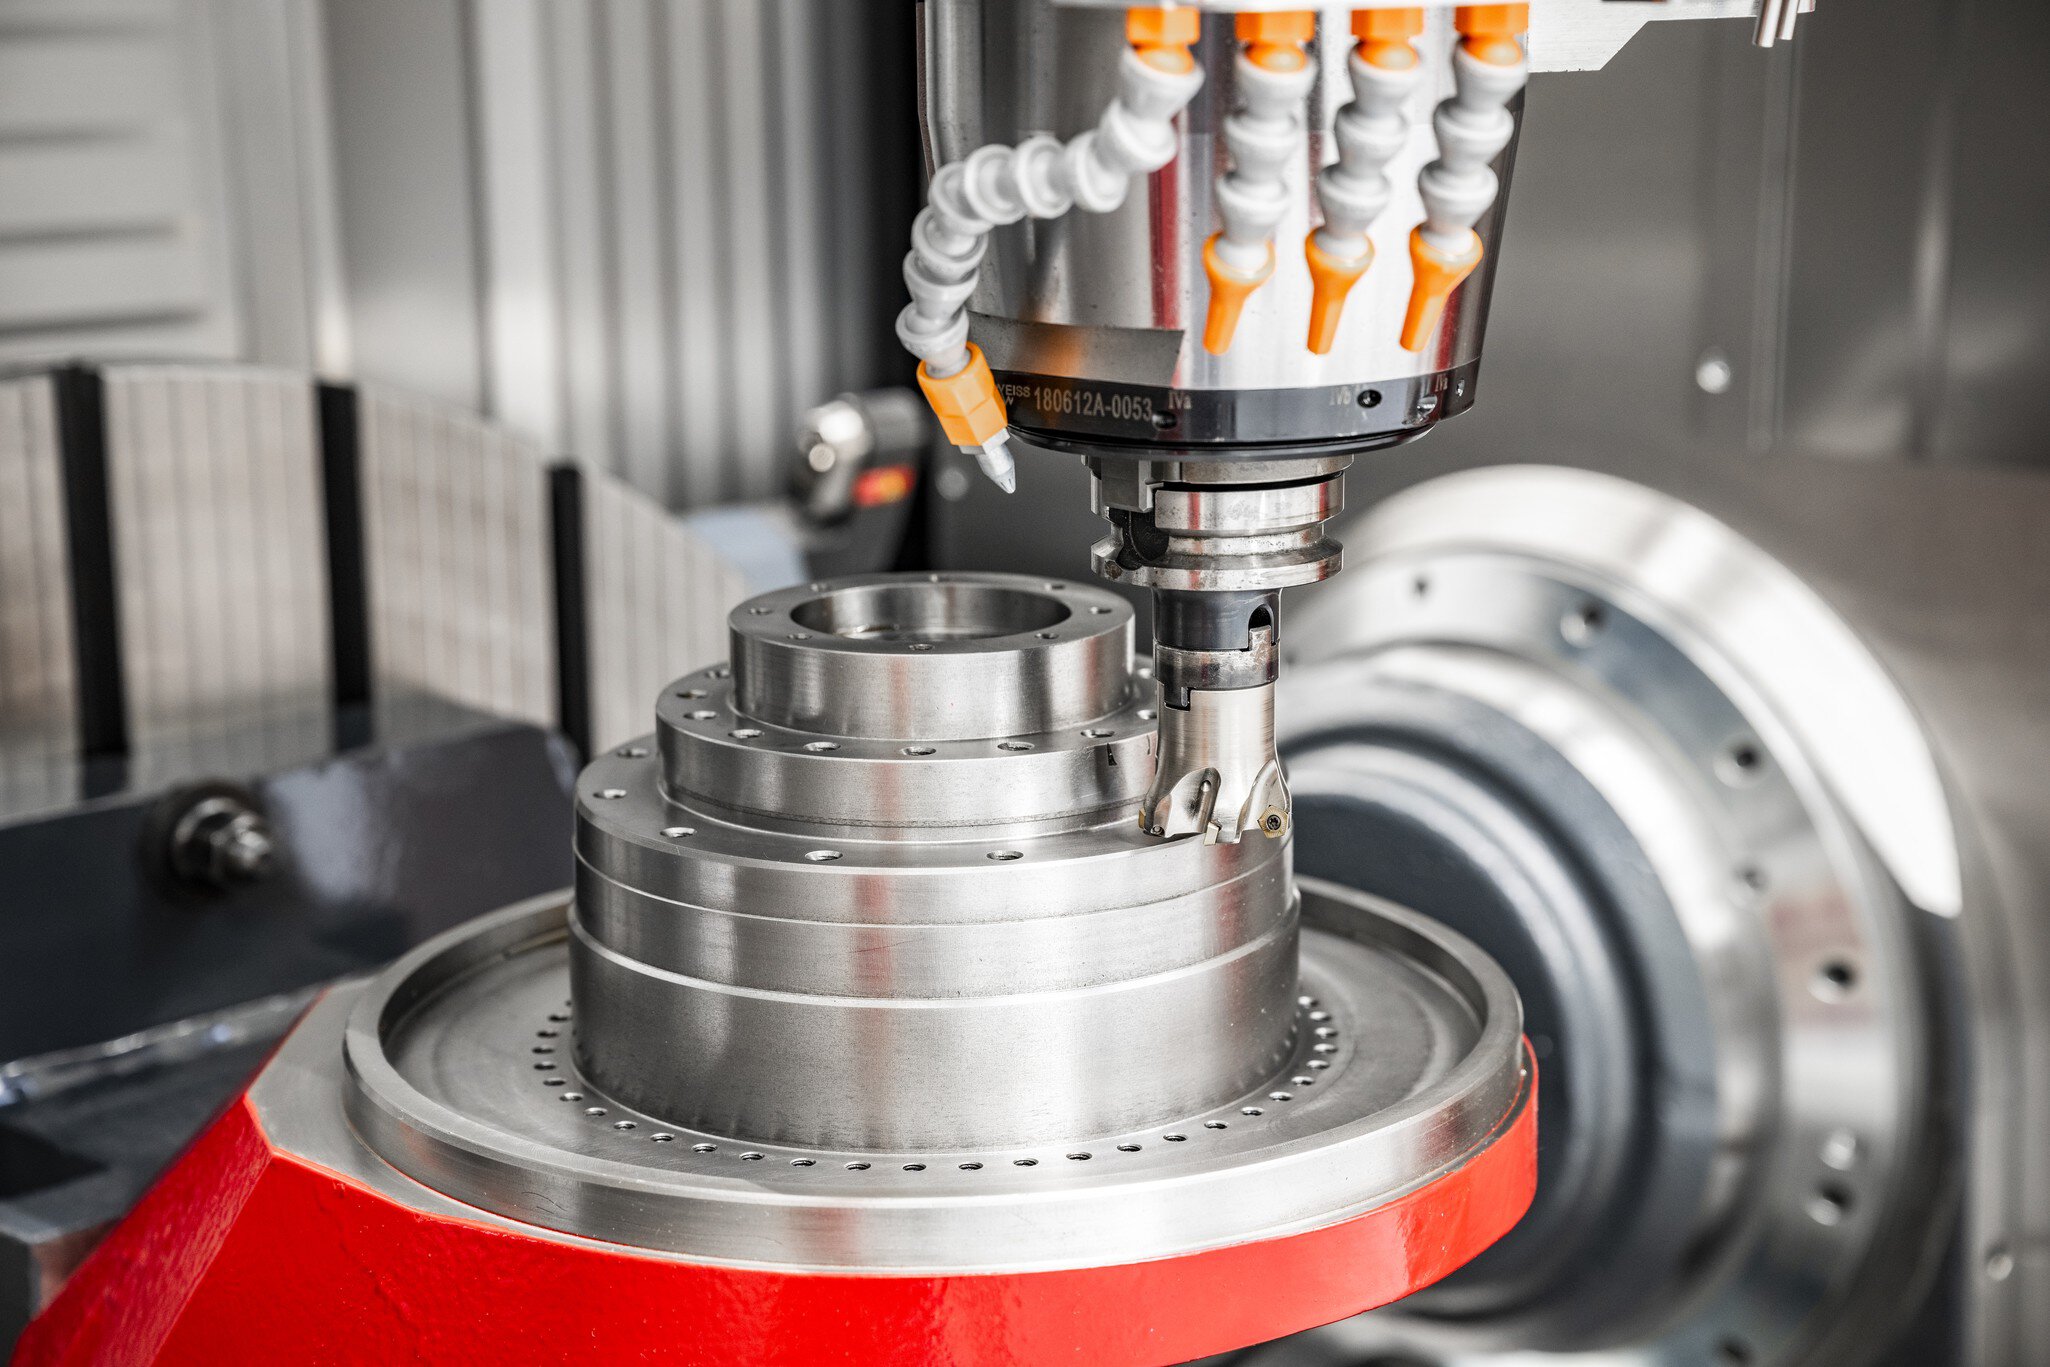
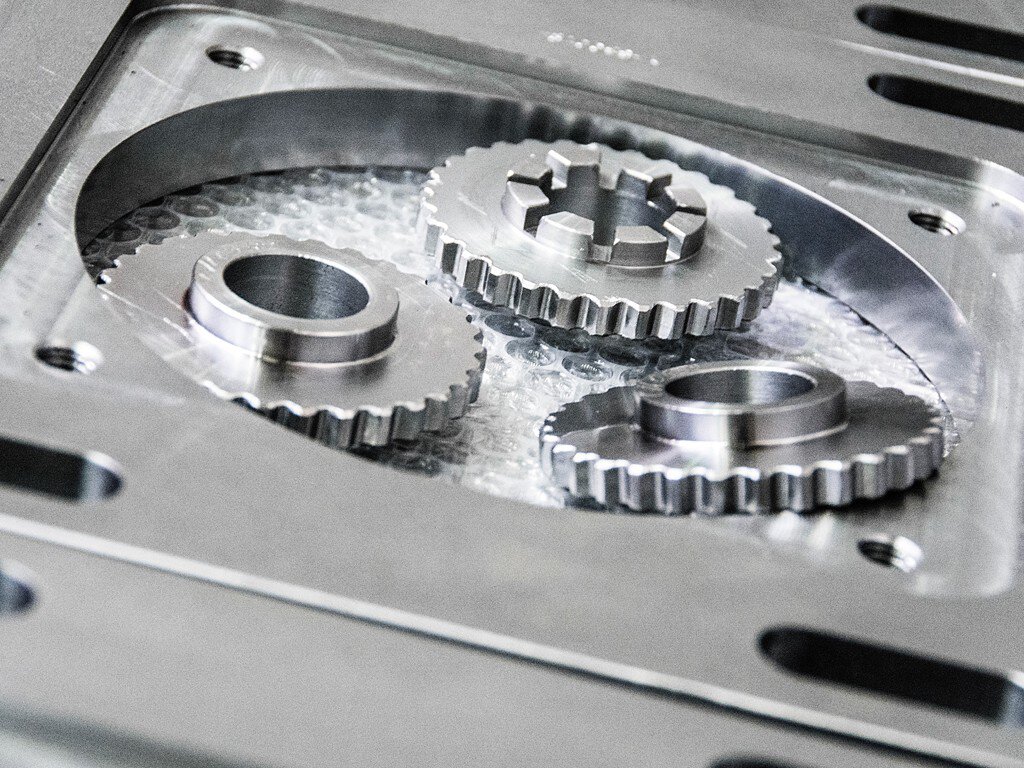
The Renishaw circularity test has established itself as a test method for the accuracy of machining centres. The measurement provides information on the interaction between two linear axes and the accuracy of a circular movement. The slip-stick-free roller guides in combination with direct path measuring systems and high angular accuracy enable the milling of fits in a quality of IT6, which reduces production times and the number of spindle tools required.

Measuring systems on round axes.

The accuracy of the measuring systems has a significant influence on the angularity and parallelism of surfaces and bores. HEDELIUS uses direct angle encoders in the centre of each rotational axis in the integrated rotary tables, the swivel spindle drives and the rotating/swivelling table units. As an option, laser-based angle measurement devices measure the positioning accuracy of rotational axes with a resolution of ±1" and calibrate the axes for maximum positioning accuracy.

Long-term precision.

HEDELIUS only uses direct linear measurement devices for position detection of the X-axis, Y-axis and Z-axis. This means that the position control loop encompasses the entire feed mechanism. This is referred to as "closed loop" operation. Transmission errors in the mechanics can thus be detected by the linear measurement device on the feed axis and corrected by the control electronics.

Temperature compensation.

HEDELIUS equips its machining centres with spindle coolers to dissipate the heat generated in the milling spindle. The cooling system already achieves increased thermal stability as standard. However, as not all of the heat can be dissipated by the spindle cooling, HEDELIUS optionally installs temperature sensors on the spindle, travelling column and, in some cases, on the rotary axes in order to compensate for structural displacements via the control system.

Choose your CNC control system.

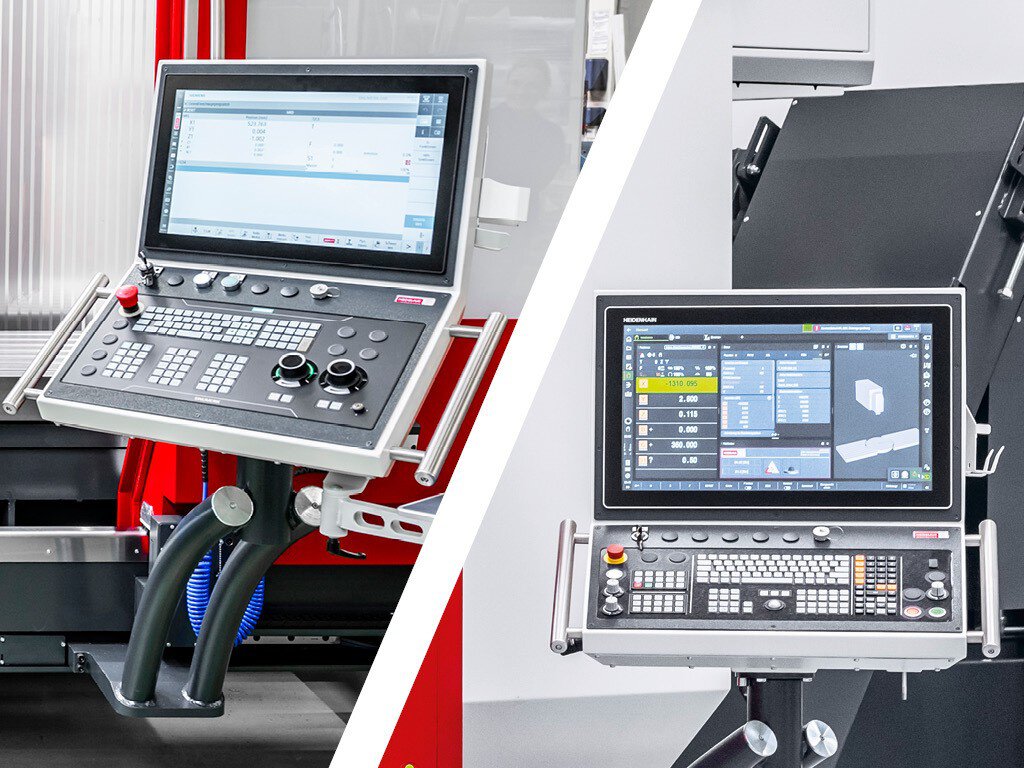
What is usually considered special accessories is standard at HEDELIUS: All machining centres are equipped with a CNC full keyboard, colour monitor, spindle feed overdrive and original software as standard. State-of-the-art control technology from SIEMENS or HEIDENHAIN guarantees maximum operating convenience and unrestricted functionality. You decide which system you want to work with.

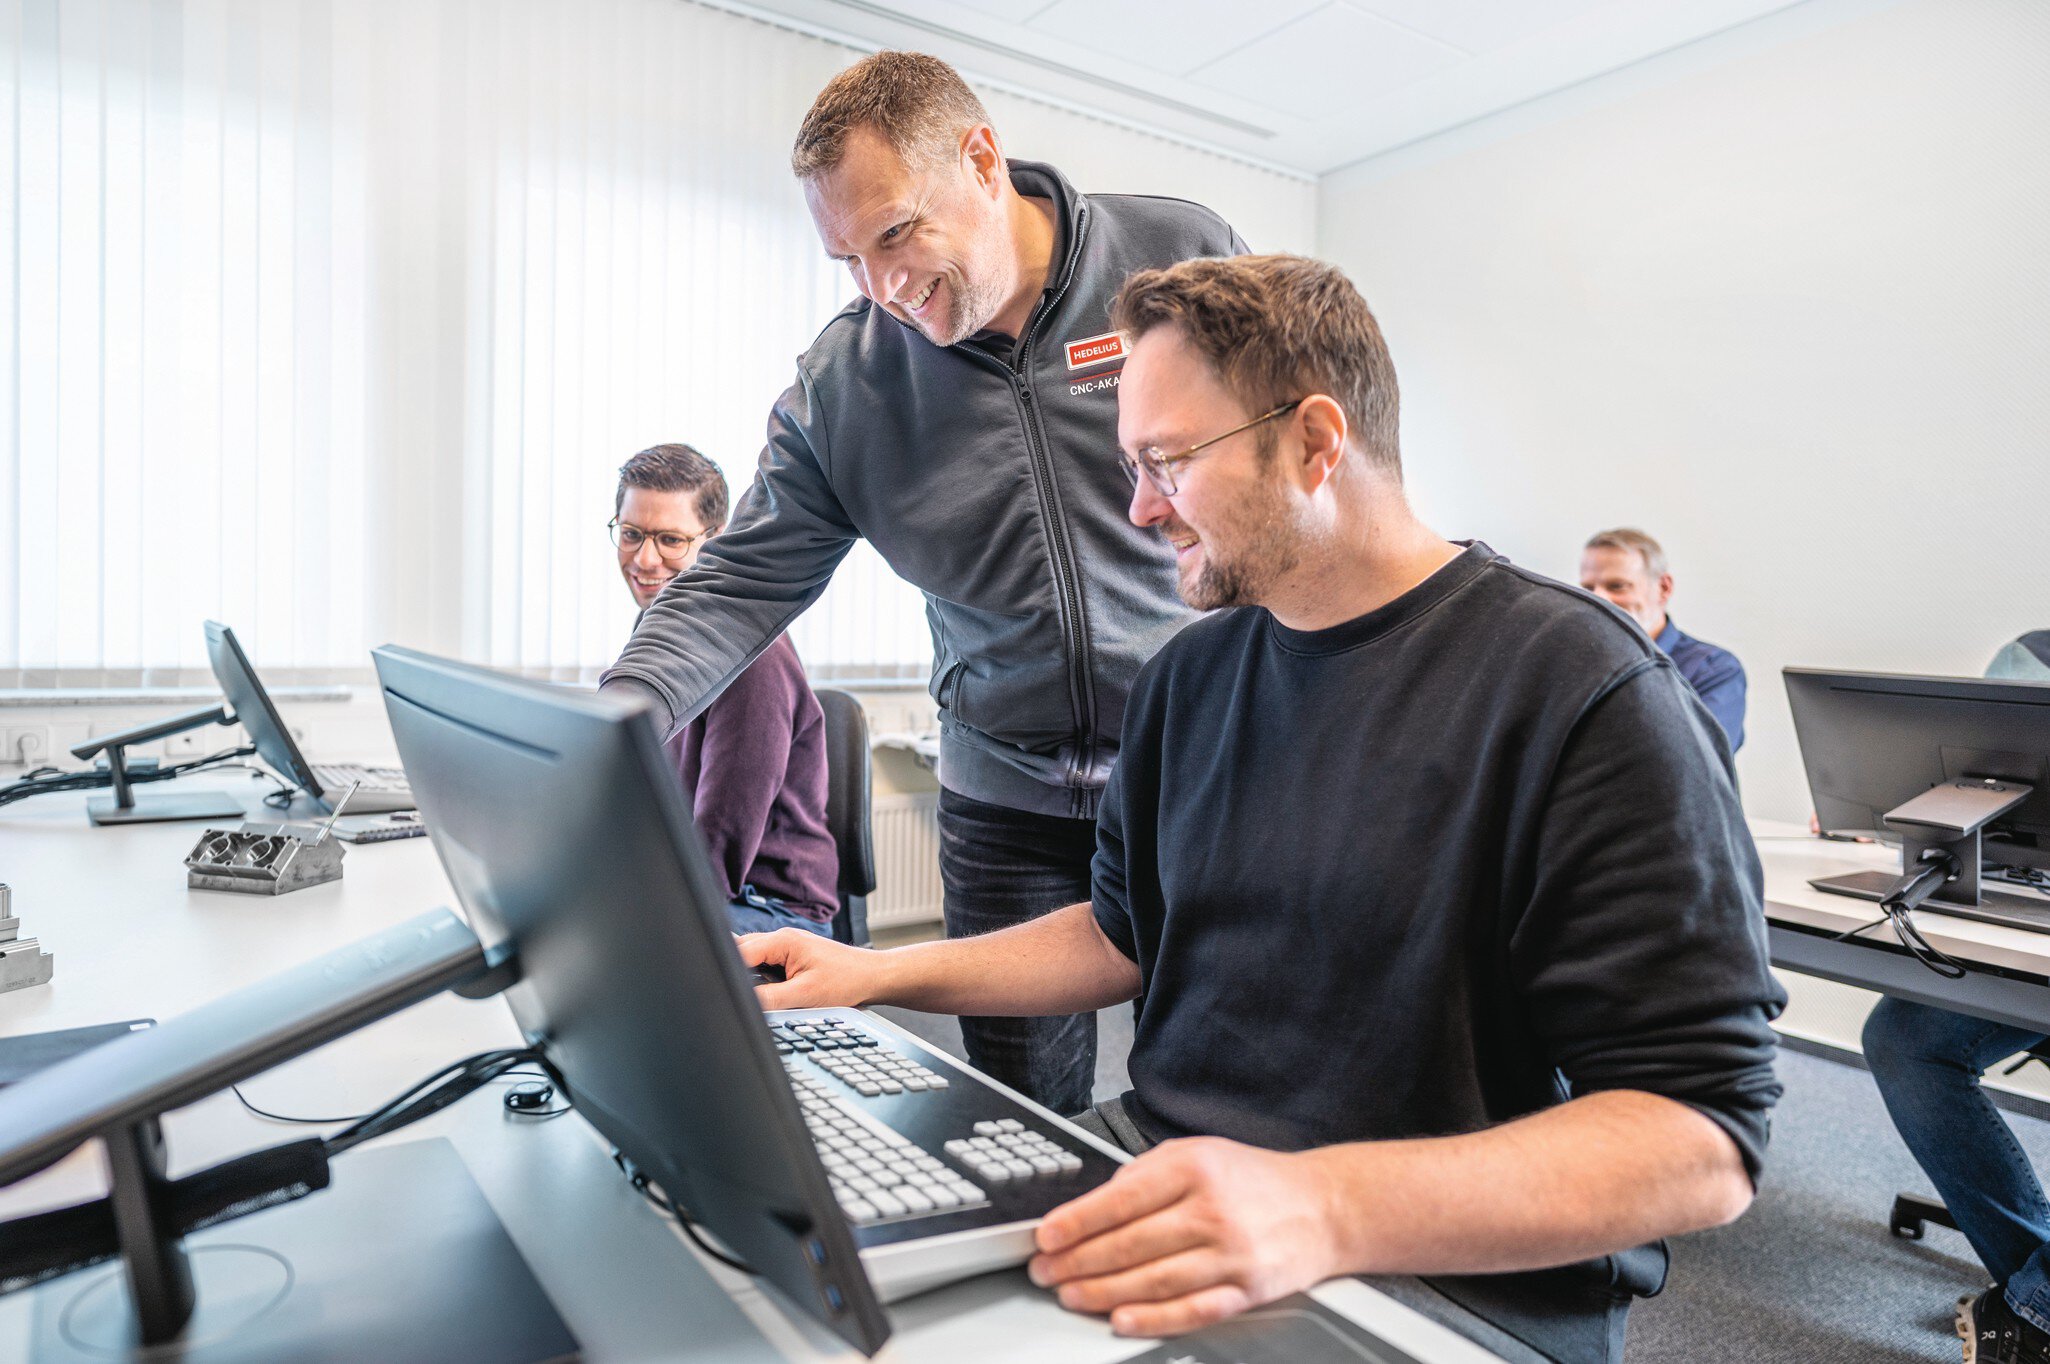
Fit for your desired control system with seminars from the CNC Academy.
HEDELIUS Steuerung für CNC-Bearbeitungszentrum mit Heidenhain TNC7
HEDELIUS Steuerung für CNC-Bearbeitungszentrum mit SIEMENS Sinumerik ONE

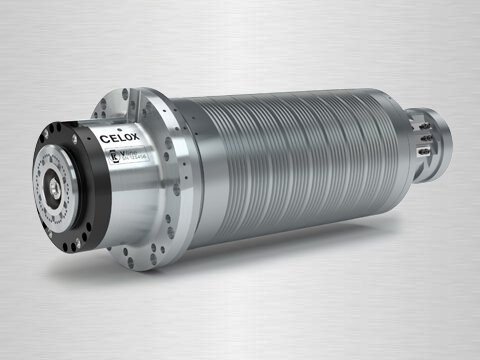
Liquid-cooled motor spindles with precision cooler.

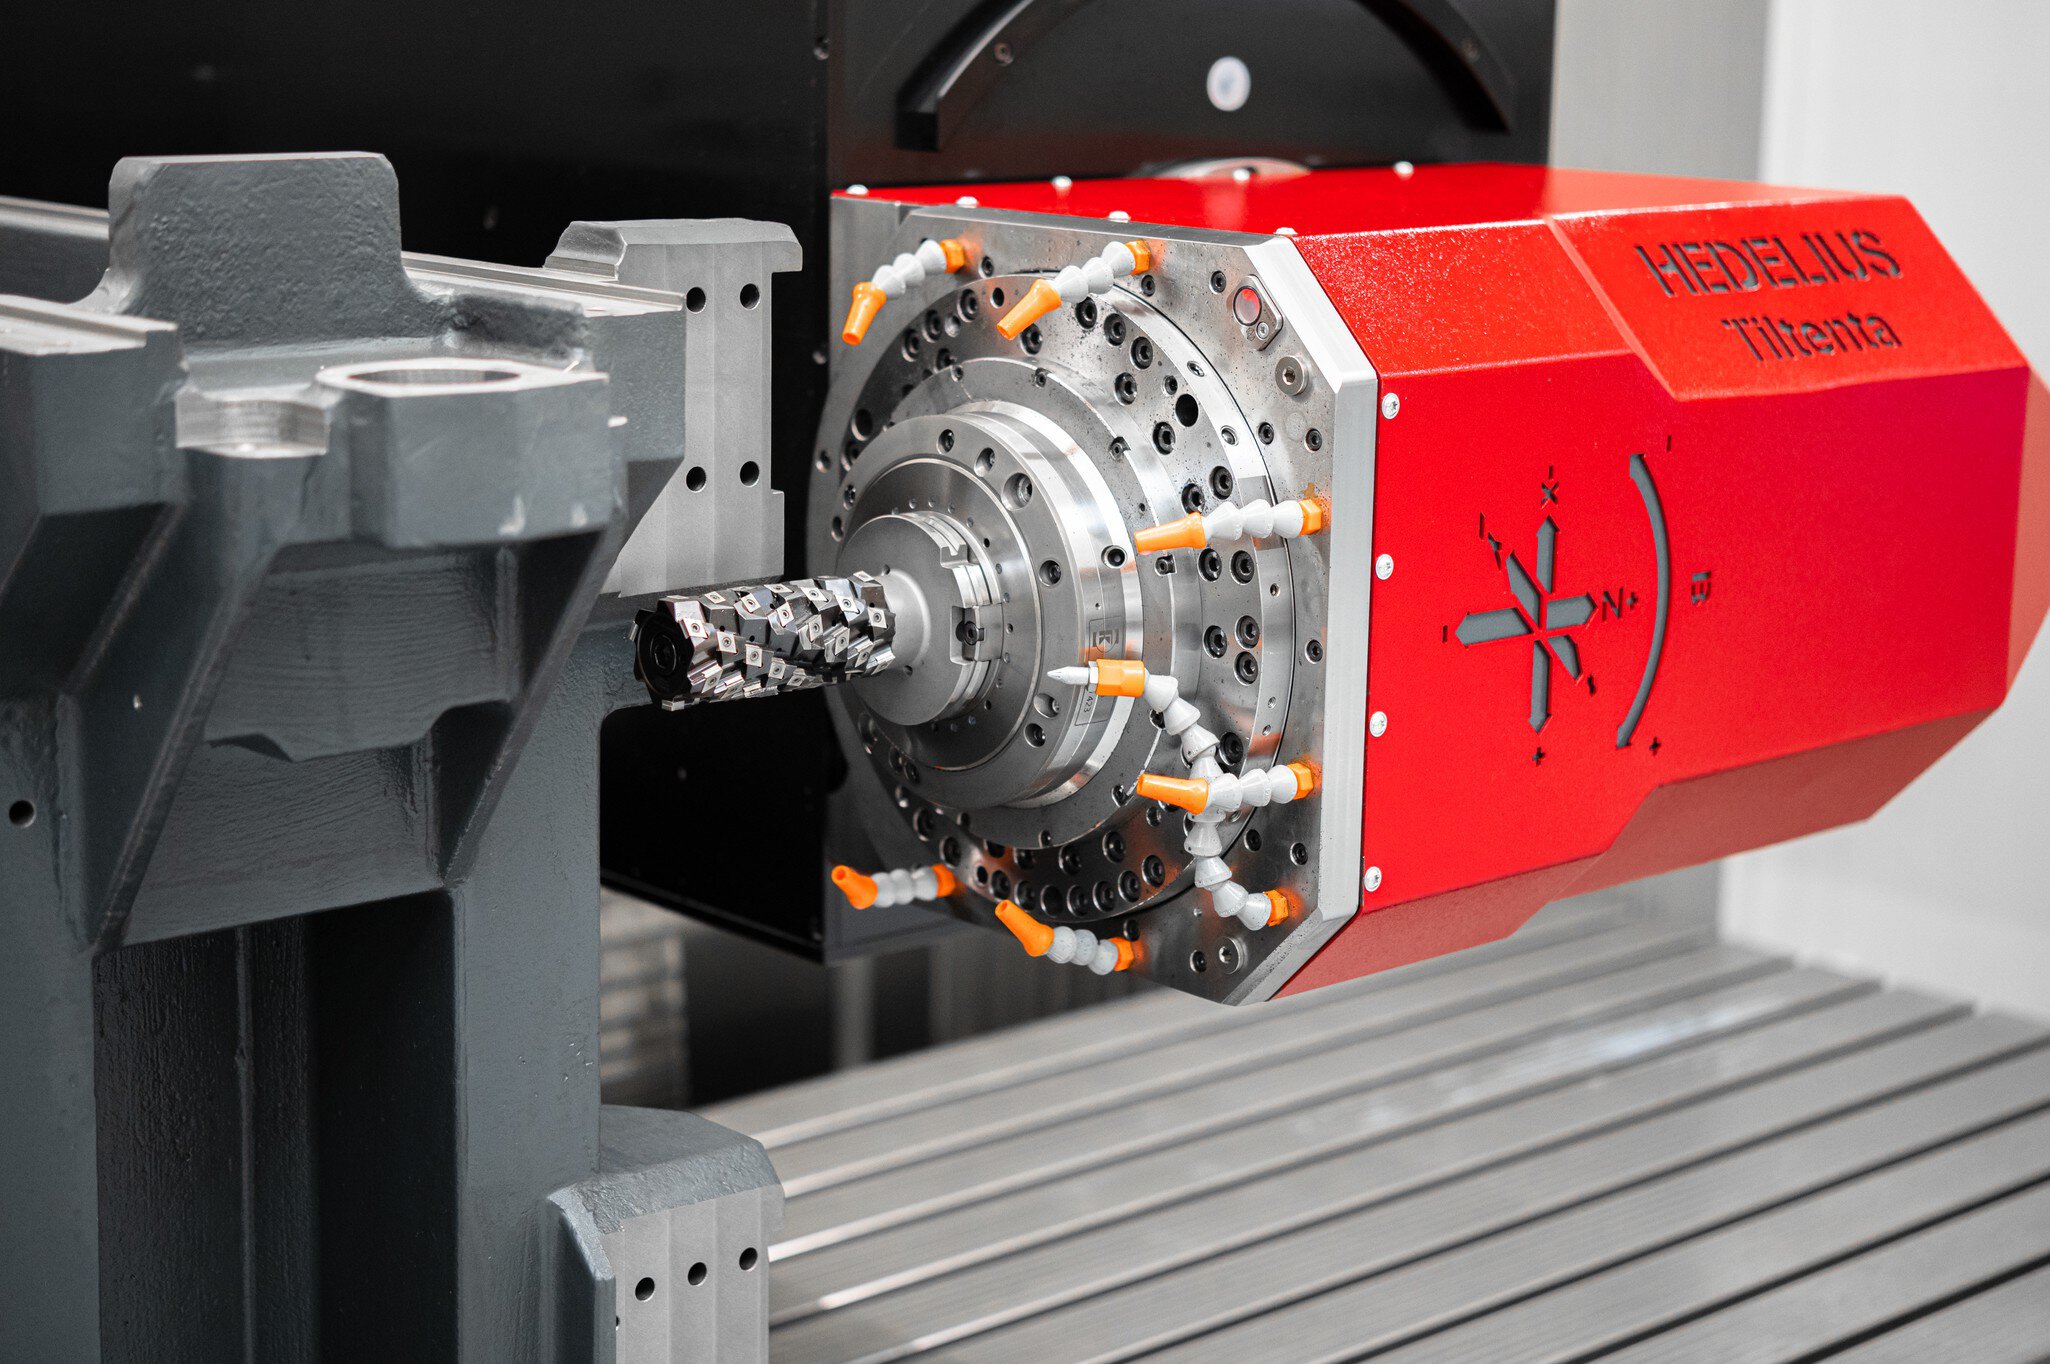
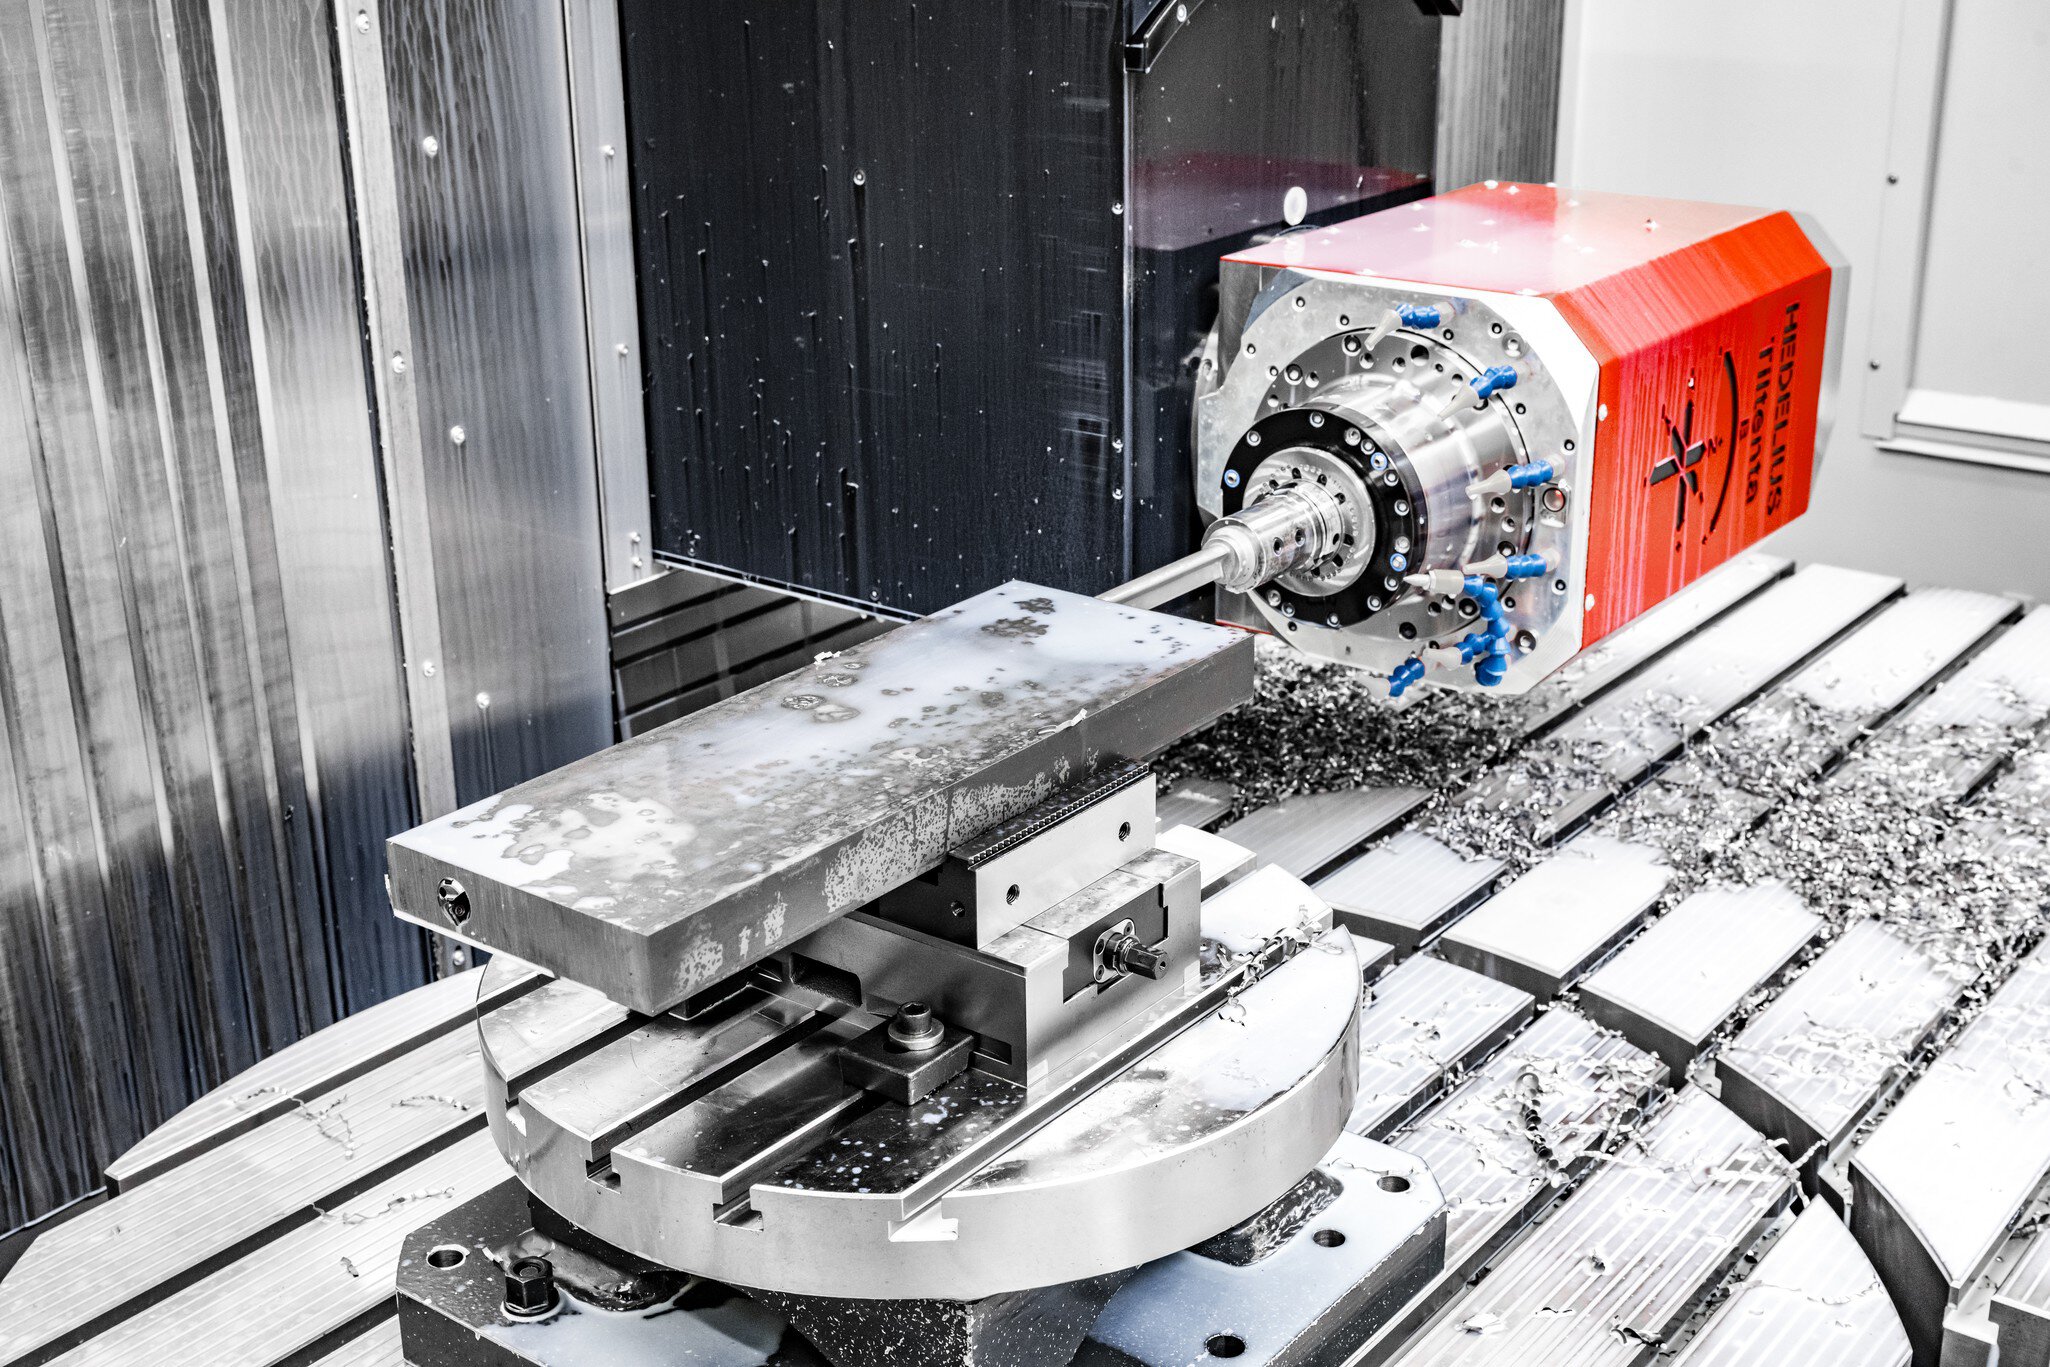
High-output and high-torque CELOX integral motor spindles with hybrid bearing technology ensure the technological lead of HEDELIUS machining centres. In conjunction with the HSK interface, the hydromechanical tool clamping system guarantees maximum system rigidity and concentricity.

Find out all about integral motor spindles.
More efficient set-up.
Optional accessories for tooling optimisation.

More efficient set-up.

Optional accessories for tooling optimisation.

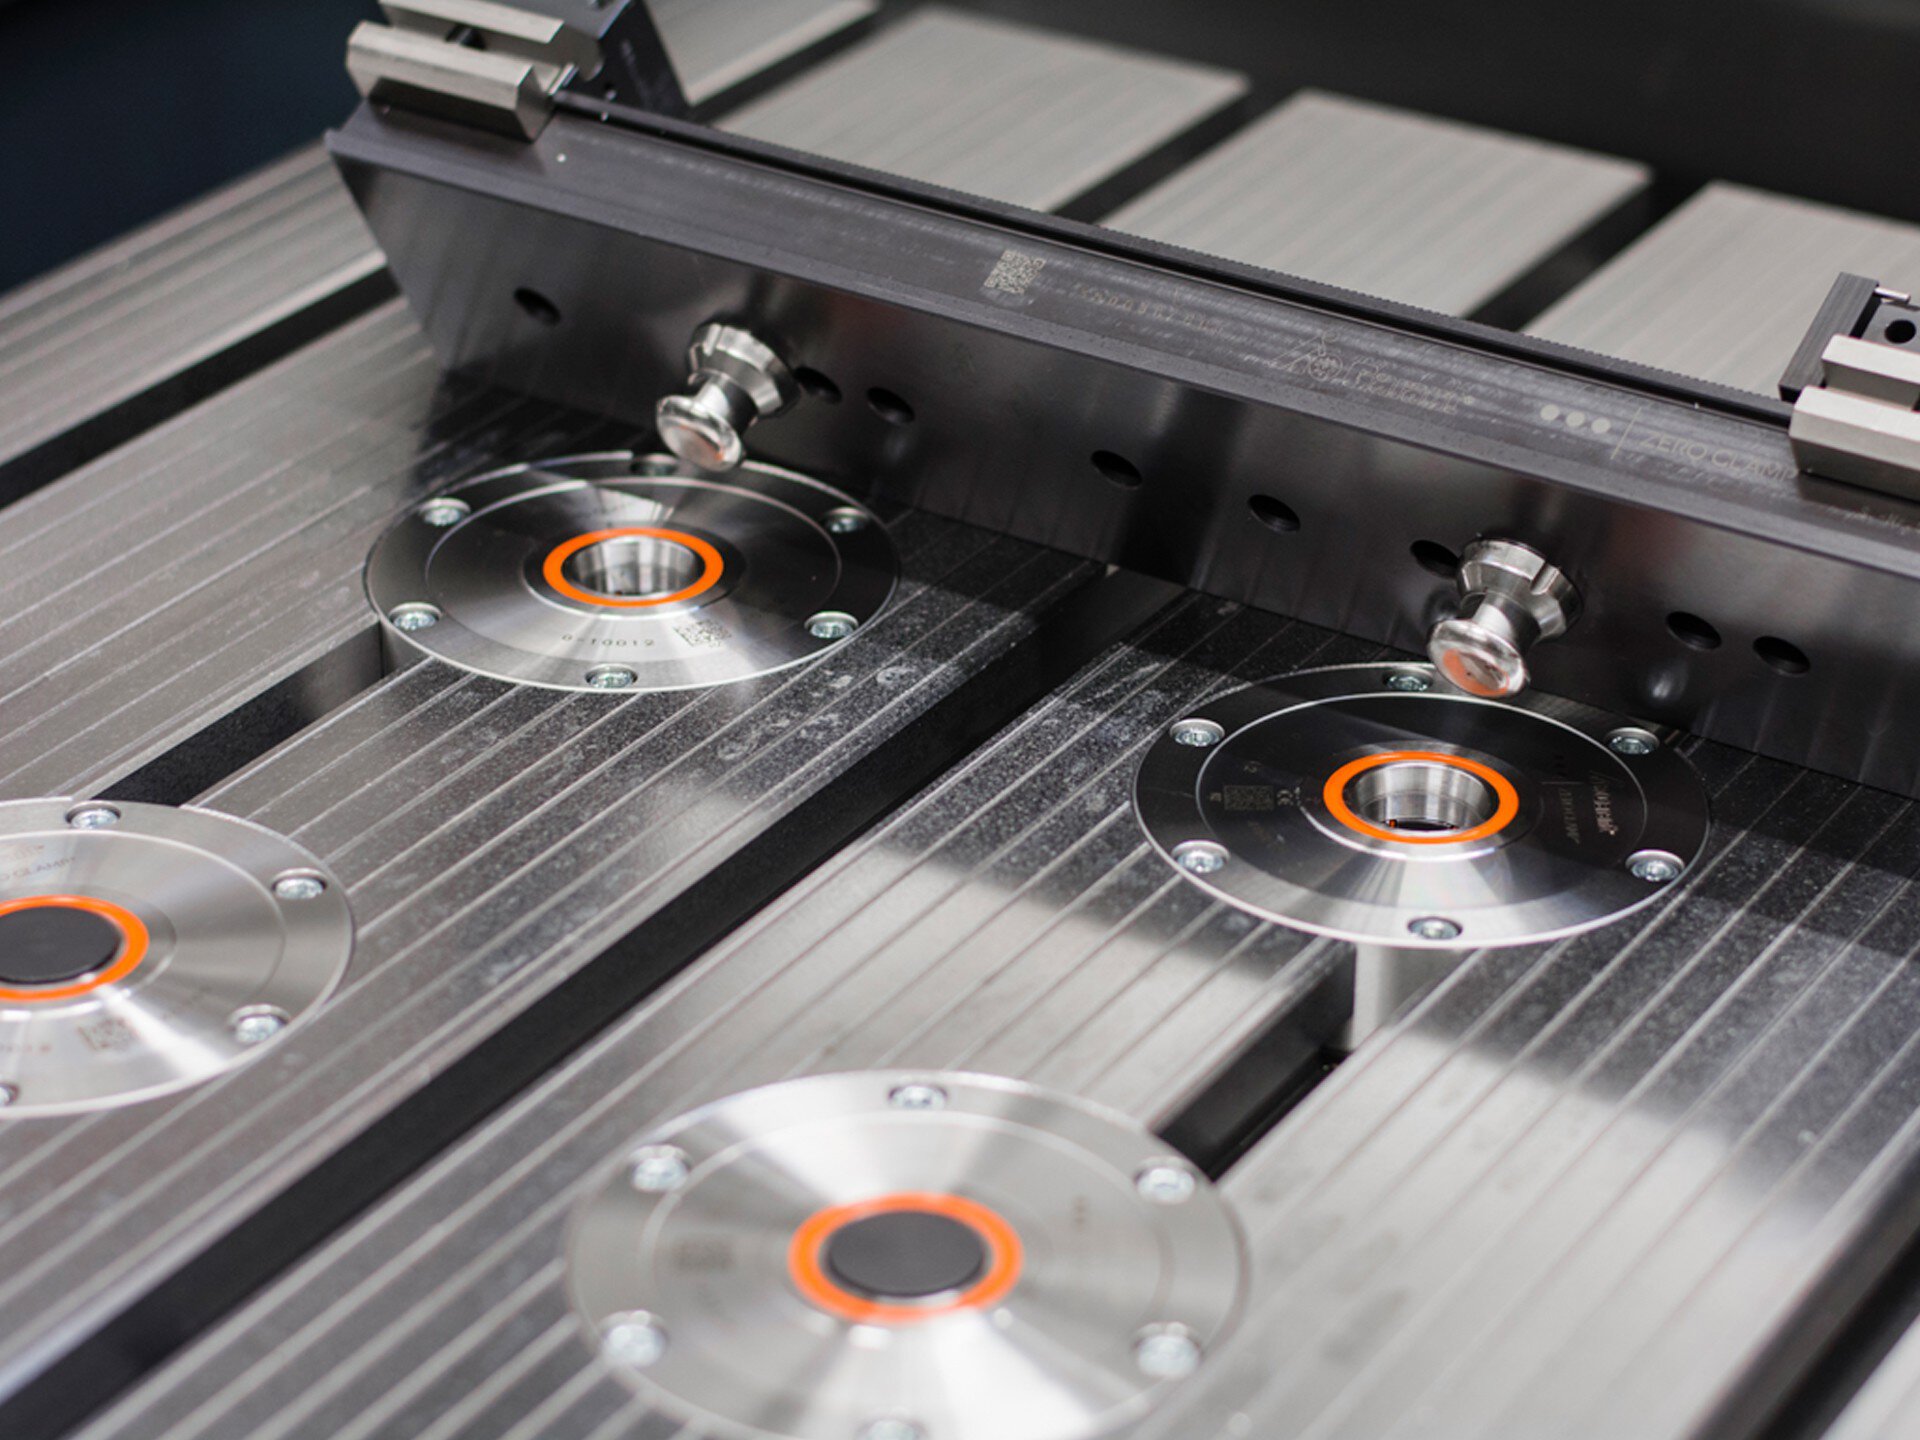
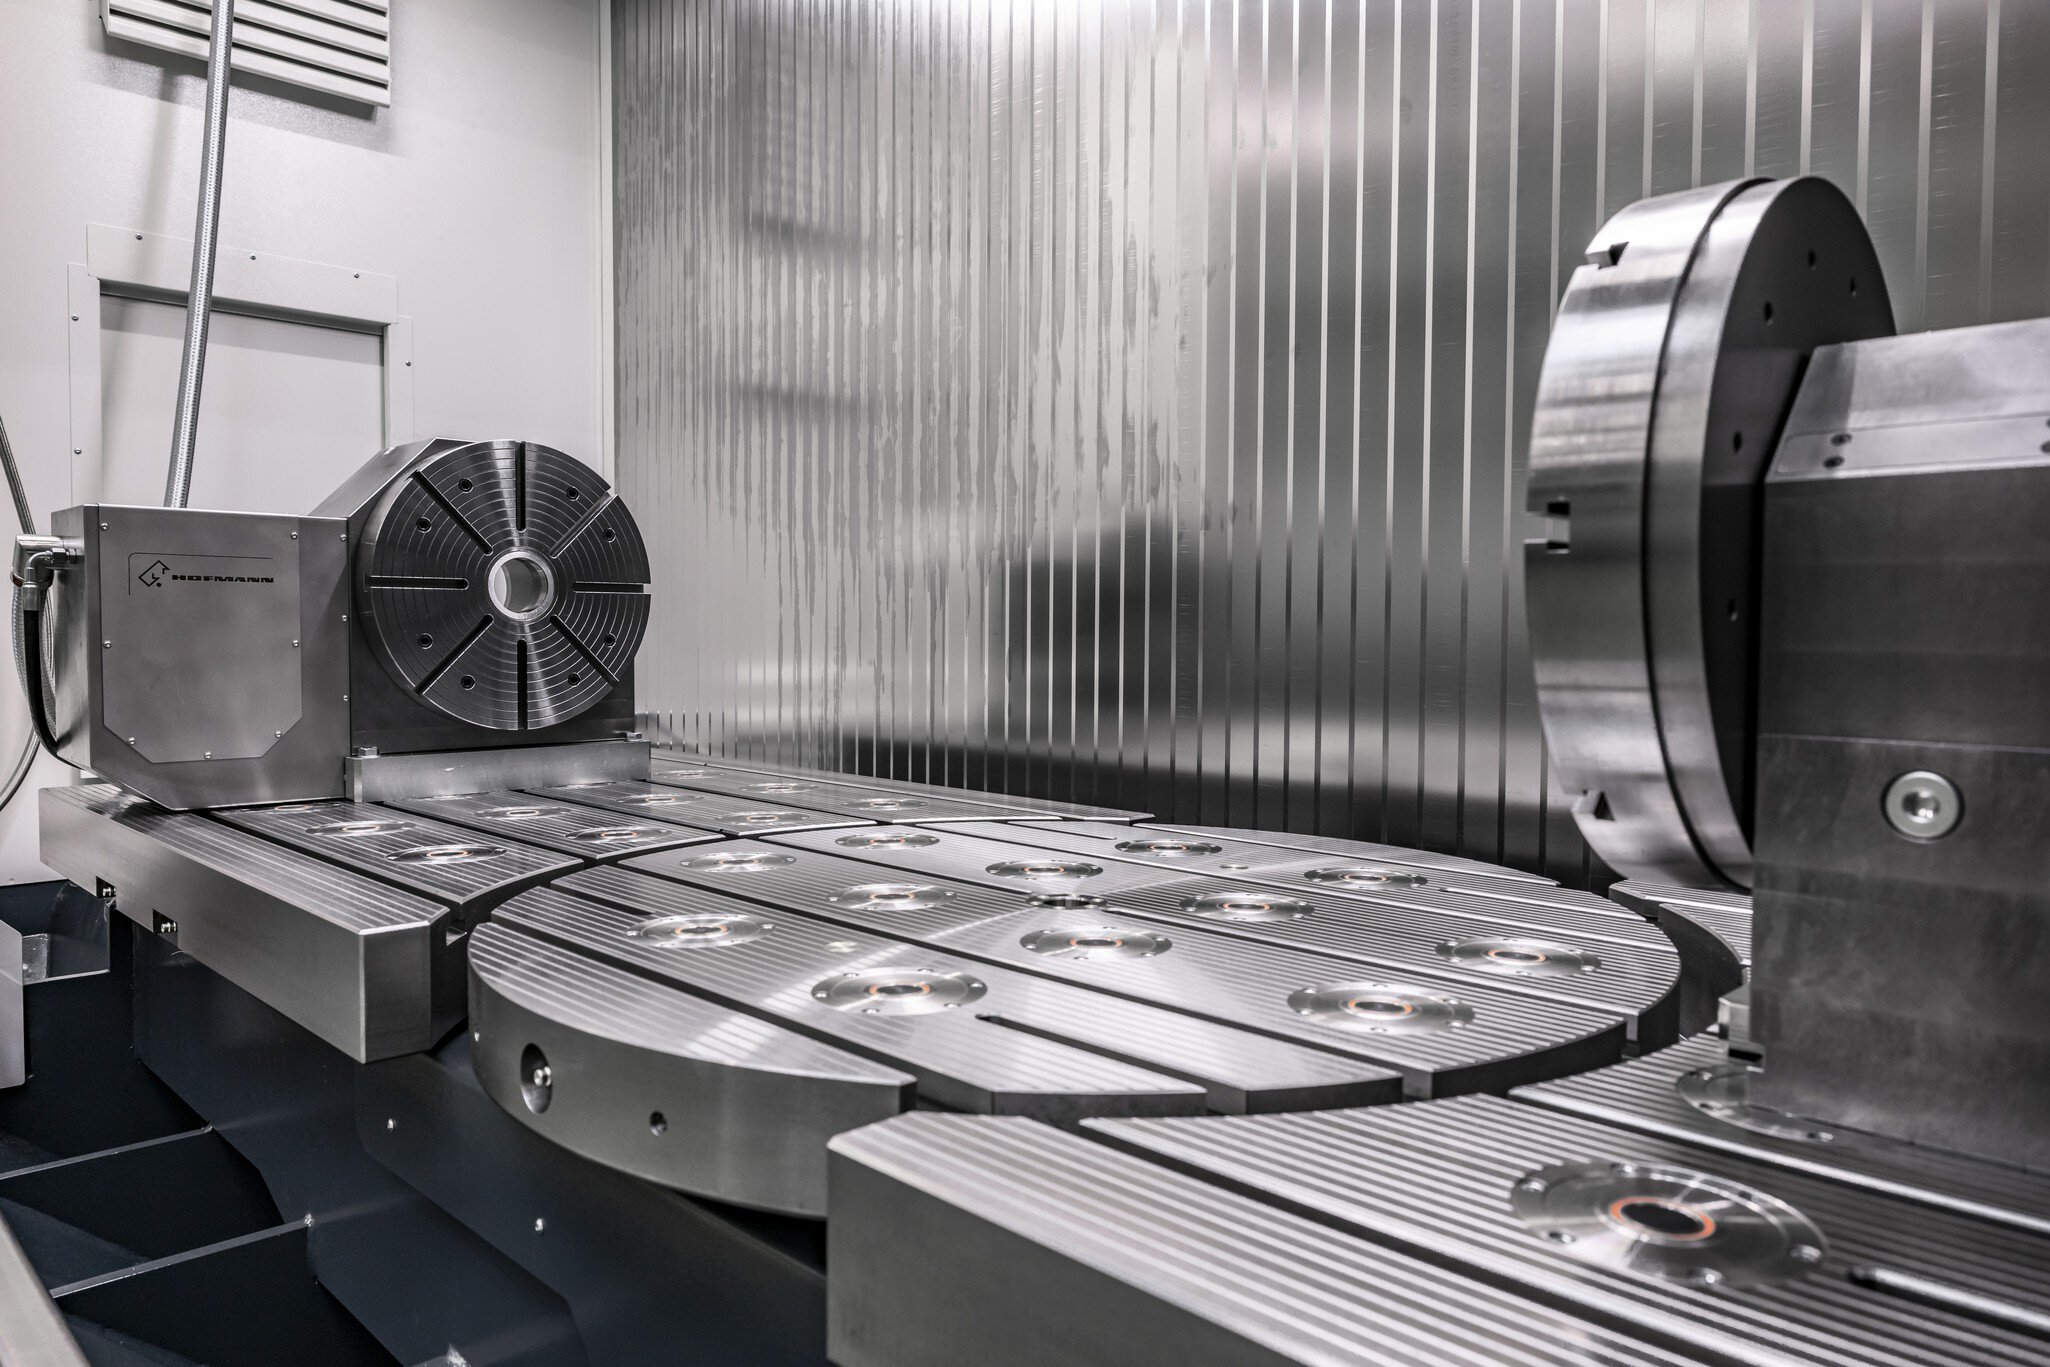
The extensive range of accessories for HEDELIUS travelling column machining centres considerably expands the range of applications for the machines. NC rotary tables for 4-sided machining or swivelling bridges with counter bearings can be integrated into the spacious work areas. As an option, the HEDELIUS machines can be equipped with a zero point clamping system, which is installed in the machine table at the factory.

Work area partition

Mounted rotary table

Zero point clamping systems

Swing bridges

Pickup tool magazines

Operating aids

How many tools do you need?

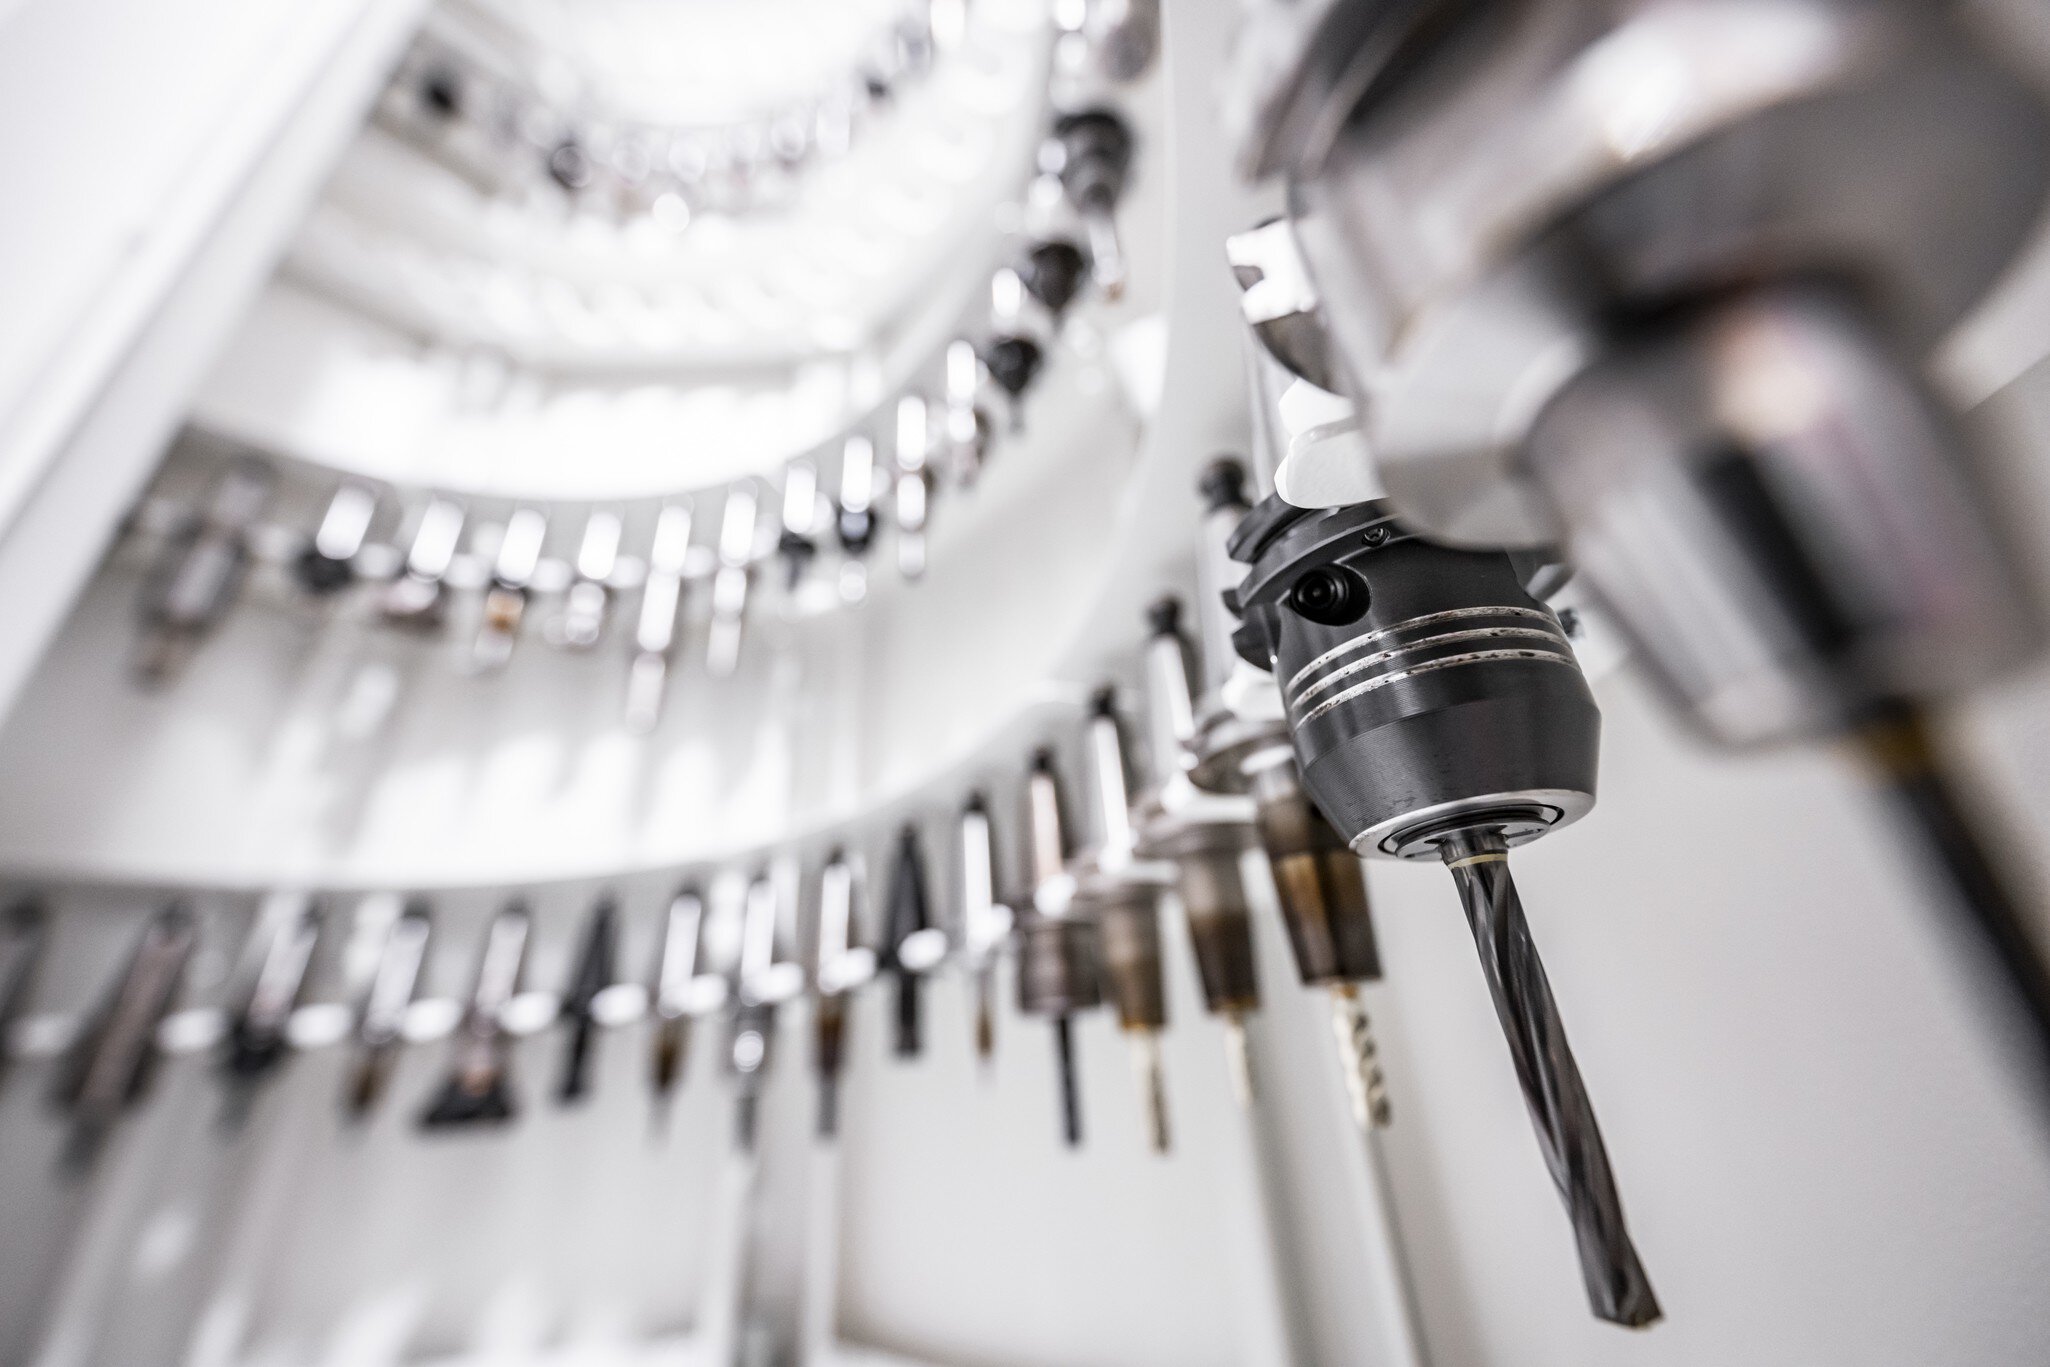
Providing the right tools is a key factor in daily production. Searching for tools, calibrating, transporting and loading the magazine tie up valuable capacity and add up to several hundred working hours over the year. Safety your economic advantage with the 152, 180 or 264-cavity standby magazine with integrated cone cleaning station.

Rationalise your production process enormously.
Tool fitting: SK 40 / BT 40 / HSK A63
Capacity: 65
Tool length: 330 mm
Tool fitting: SK 40 / BT 40 / HSK A63
Capacity: 180
Tool fitting: SK 40 / BT 40 / HSK A63
Capacity: 264
Maximise process reliability.
Optimised cleaning technology and chip removal.

Maximise process reliability.

Optimised cleaning technology and chip removal.

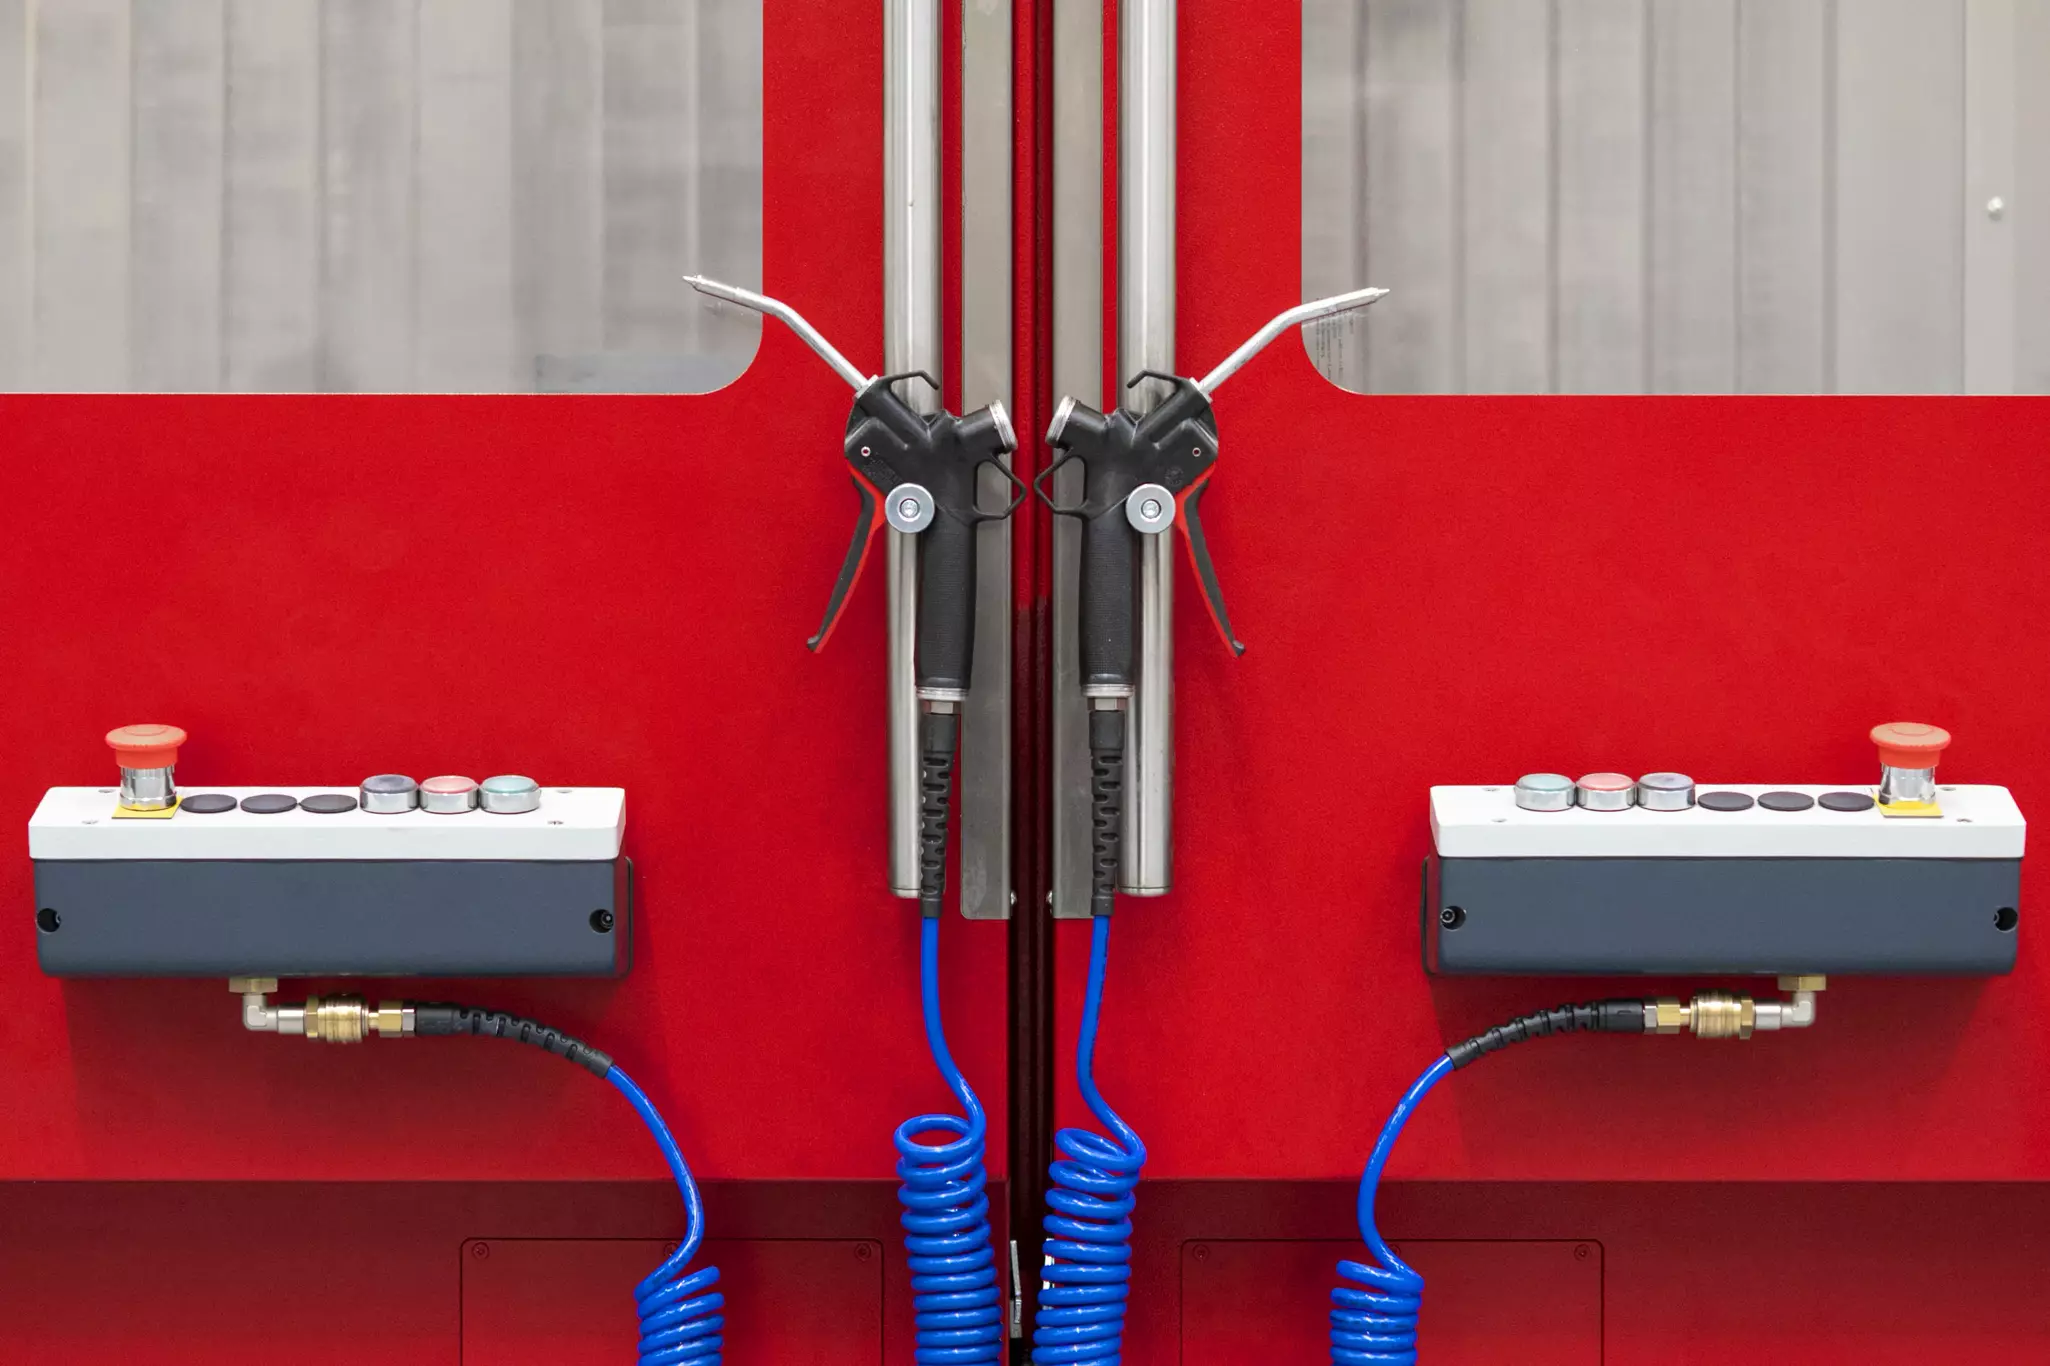
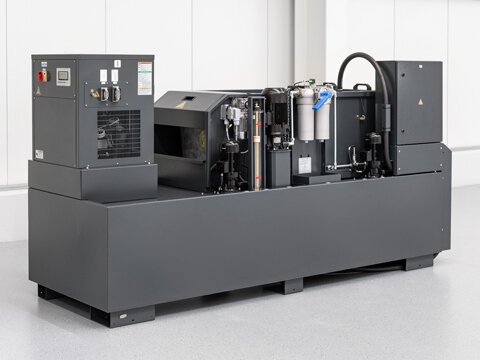
In addition to manually activated blow-off and rinsing pistols for removing chips and blowing workpieces dry, the CNC machining centres can also be equipped with additional rinsing nozzles, which increases process reliability, particularly in automated manufacturing and aluminium production.

Chip flushing

Dust protection cladding

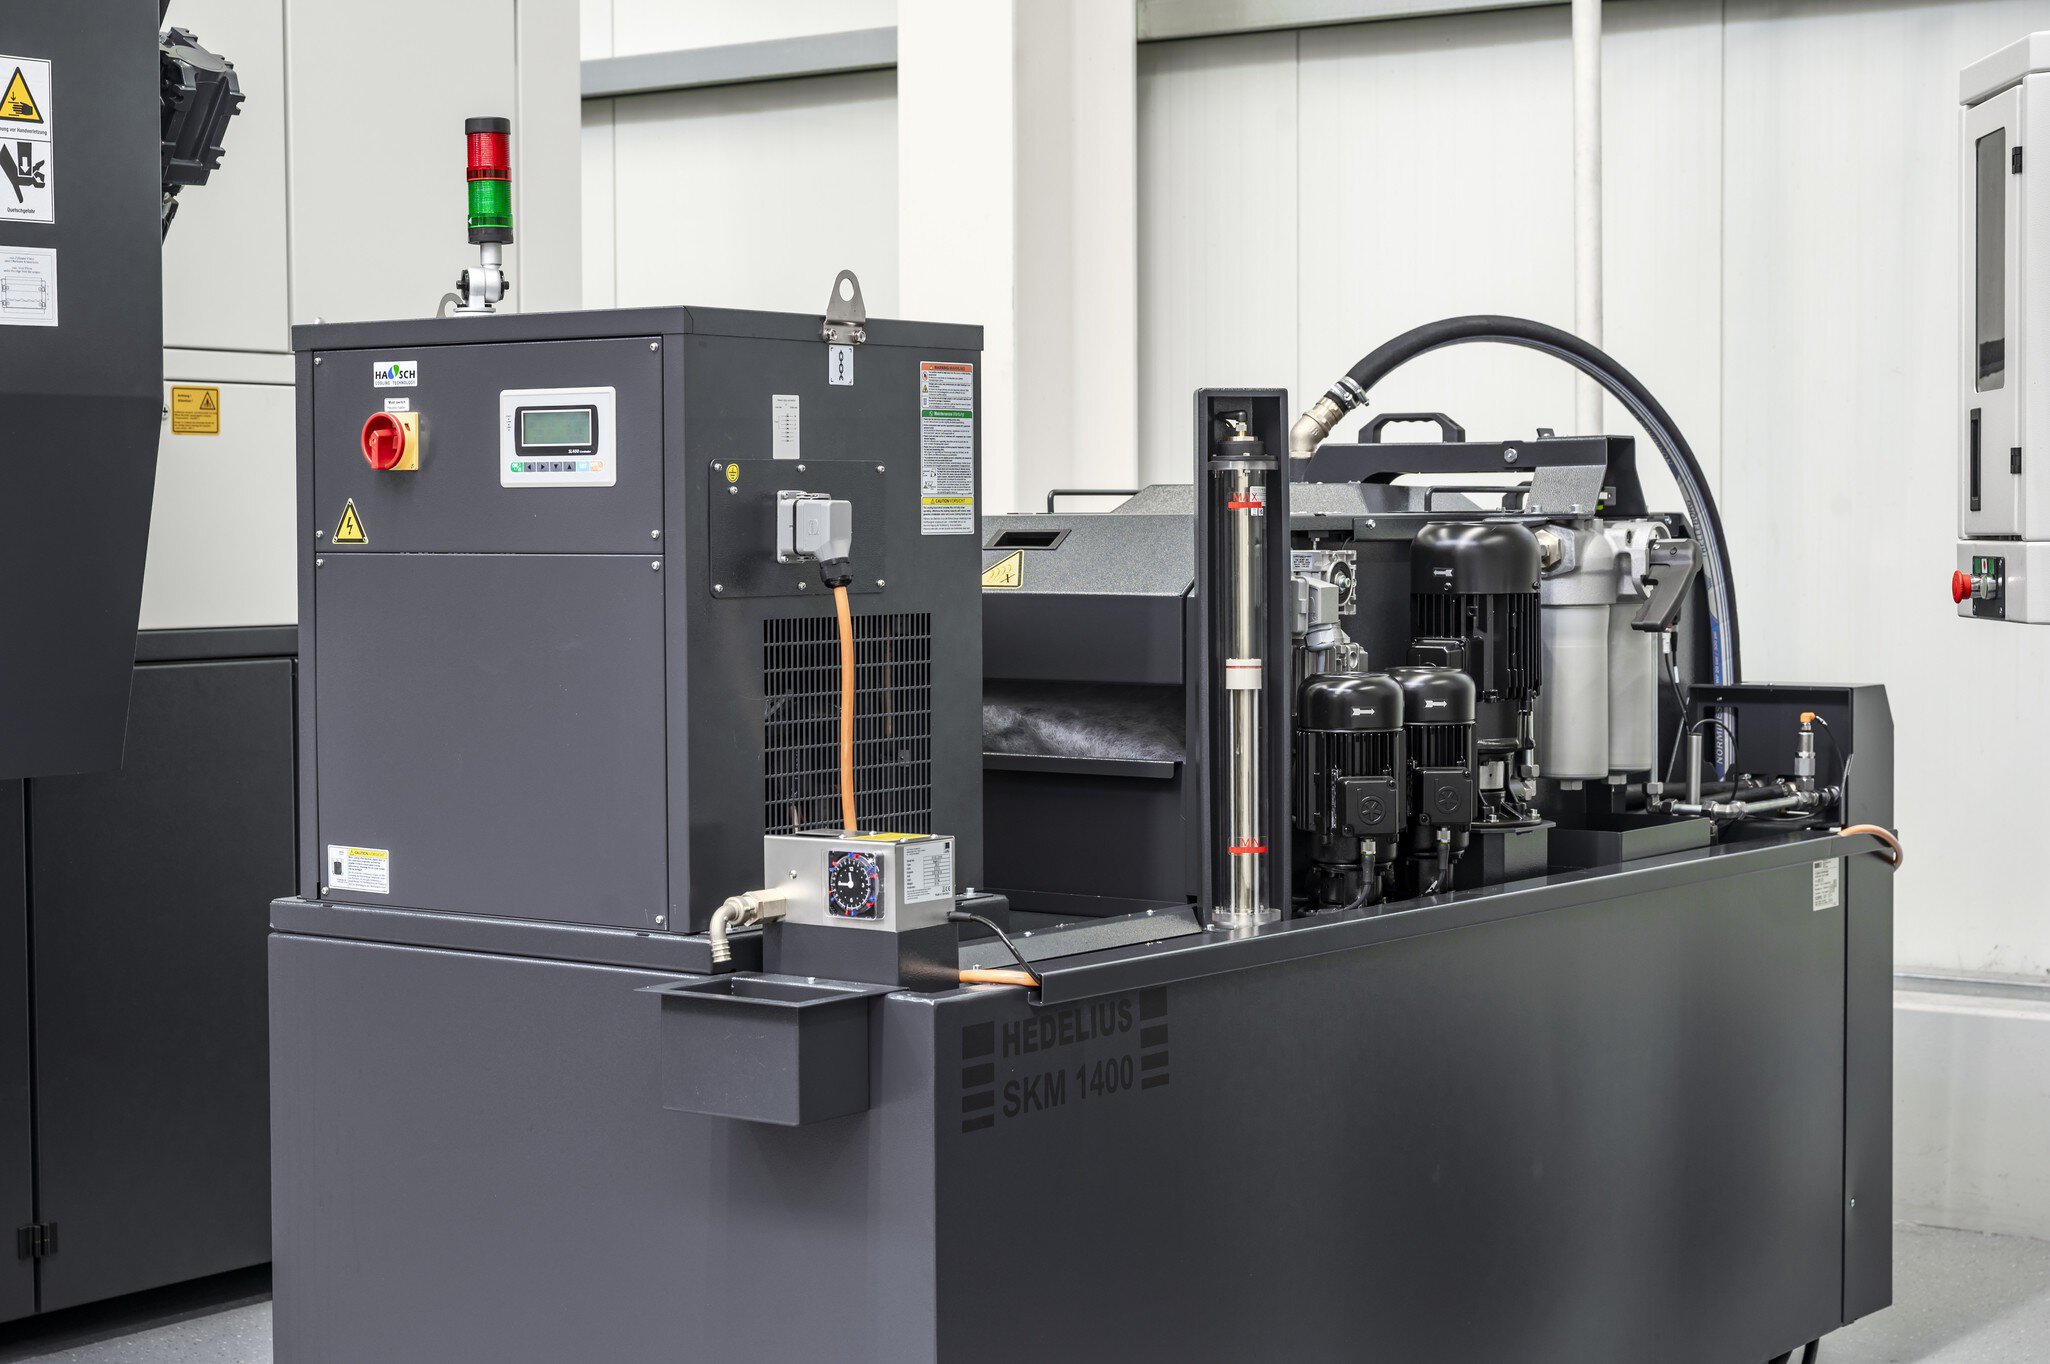
Emulsion mist extraction

Process control with side-hung window

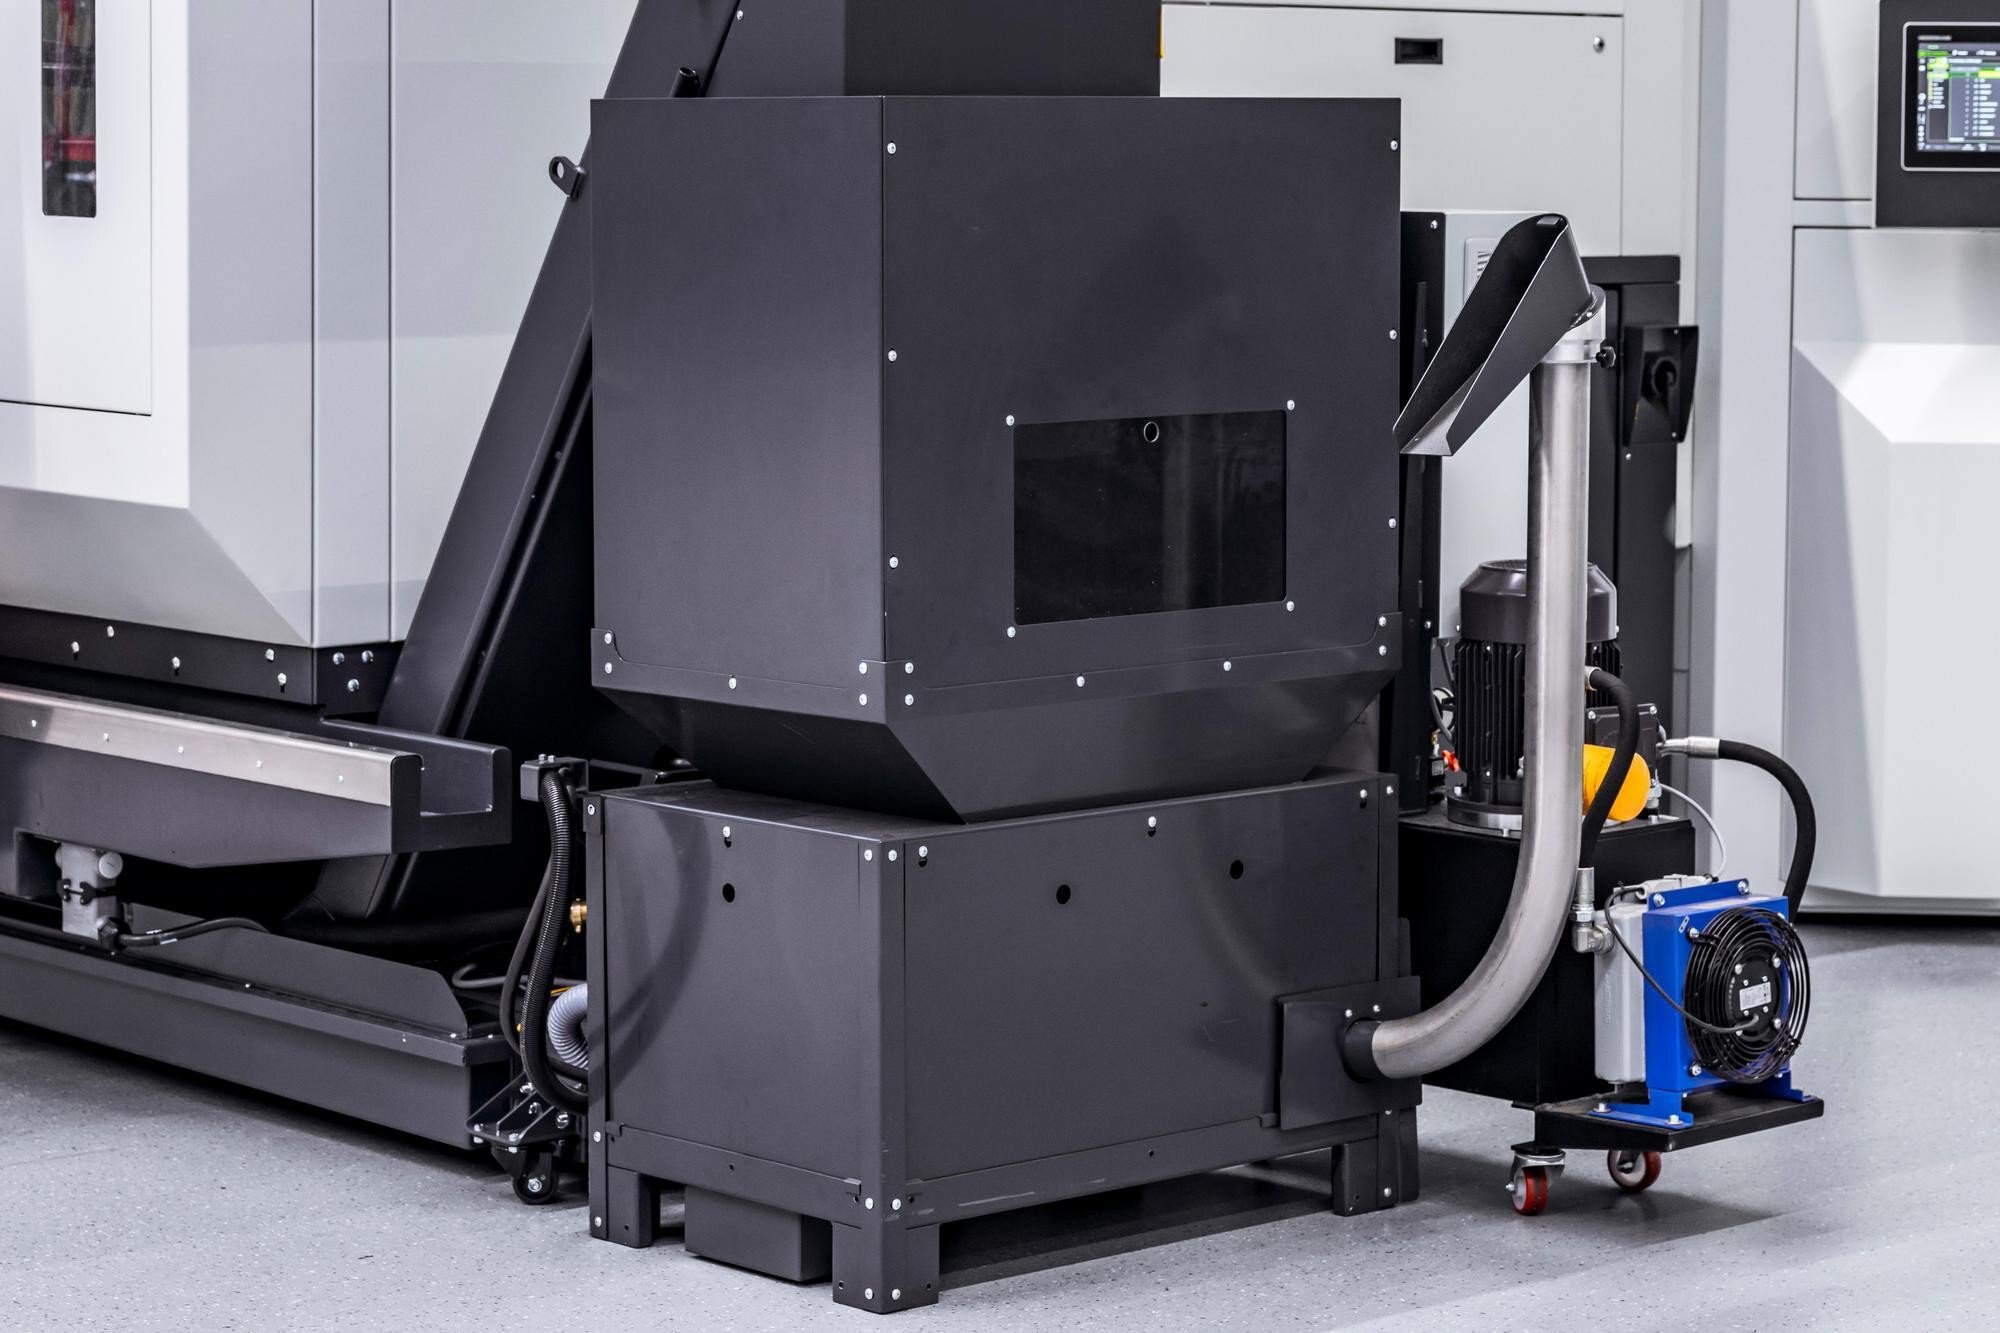
Chip press

Measure + check.
Measure + check.

Measure + check.

With touch probes and lasers.

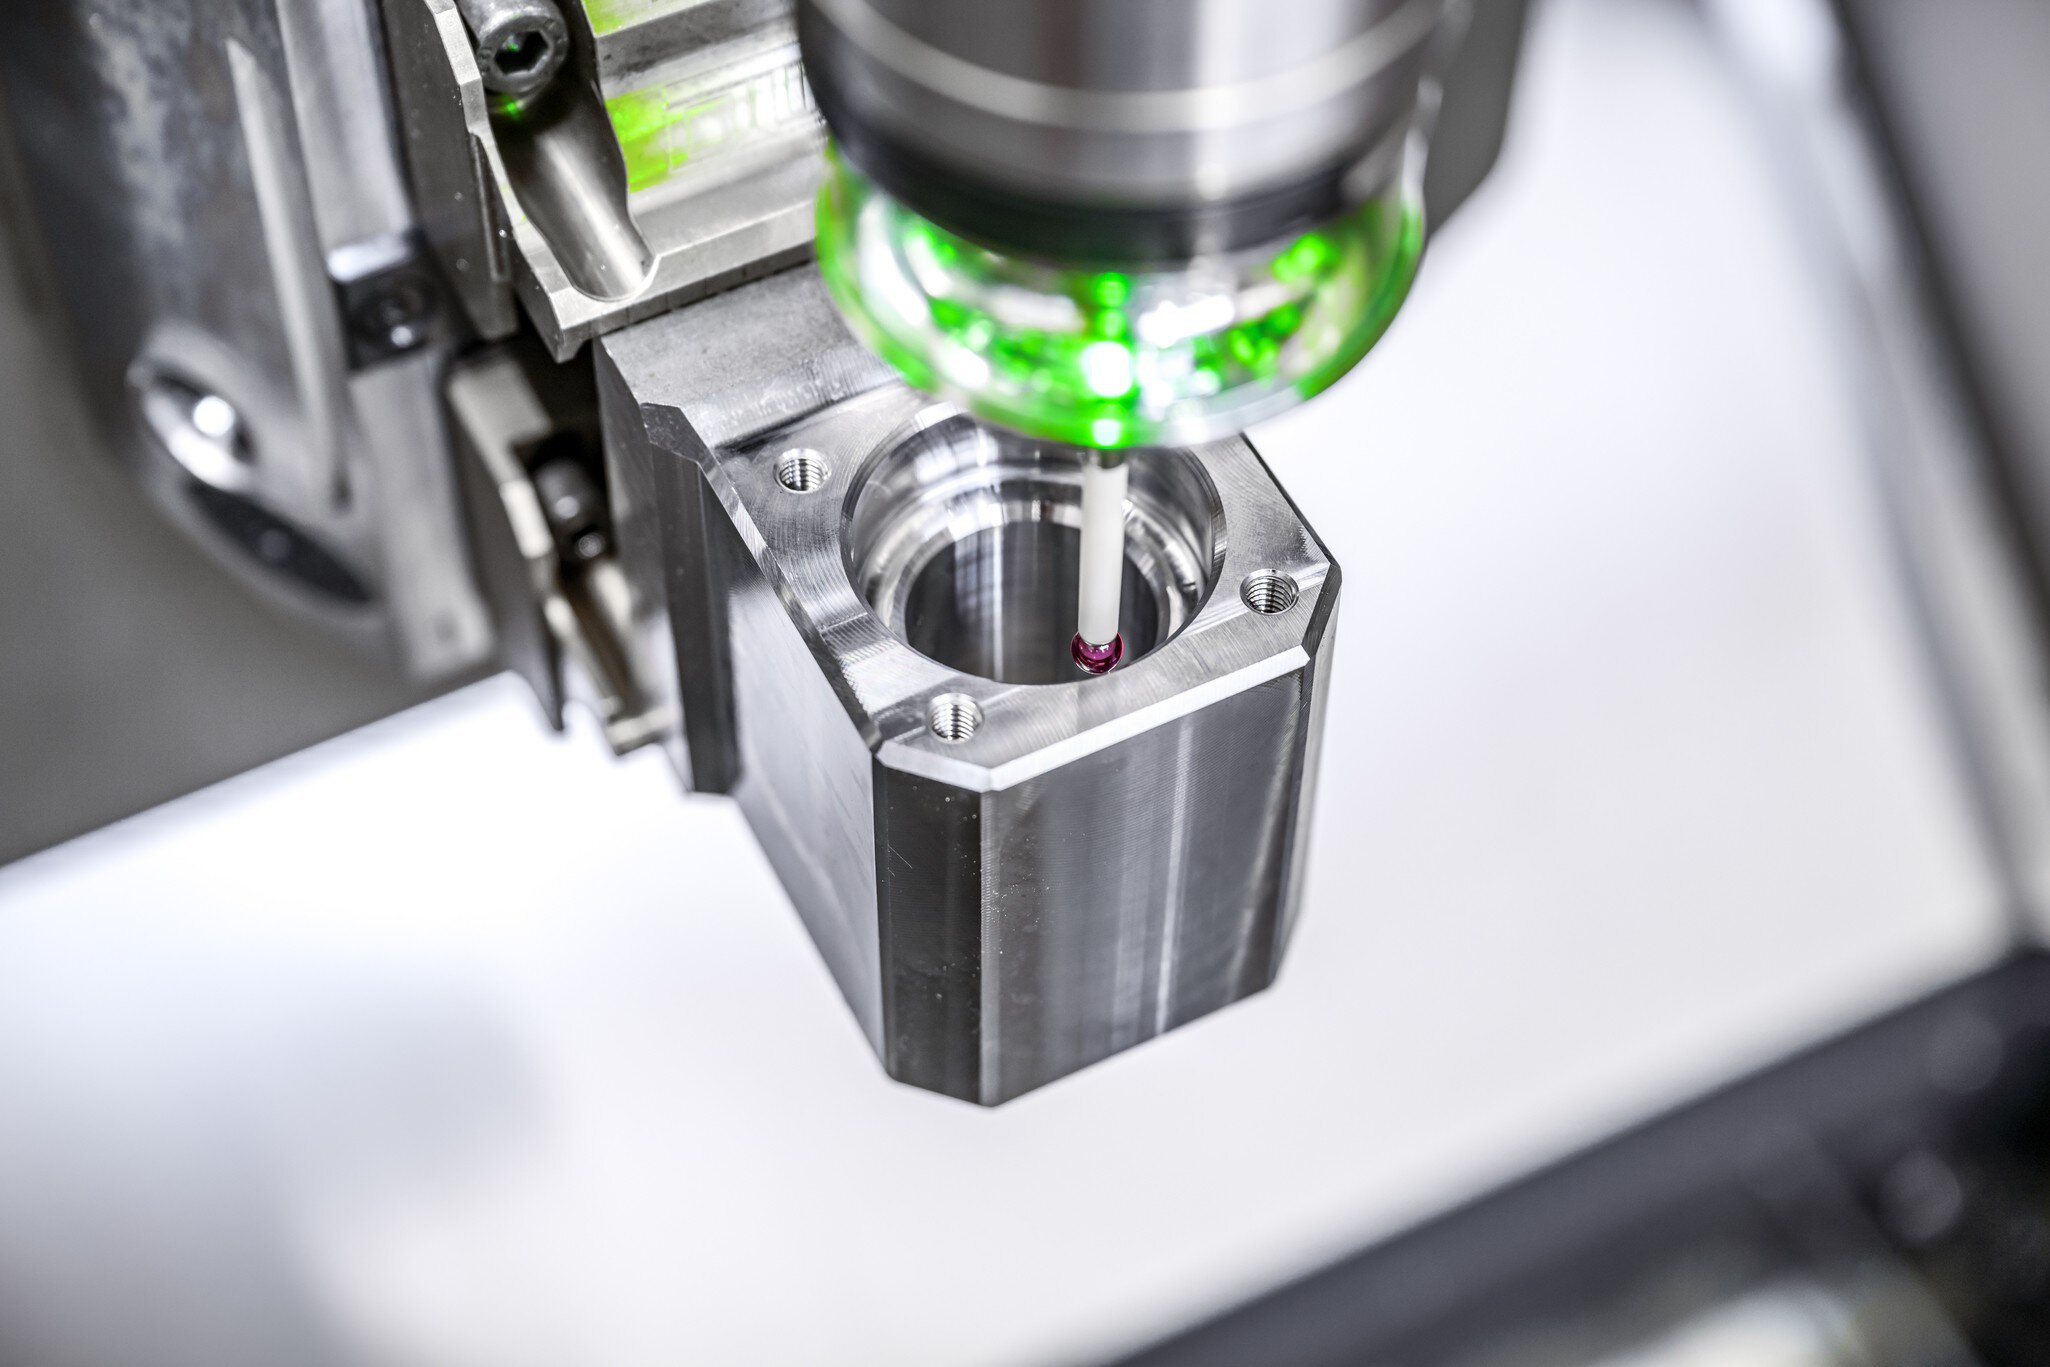
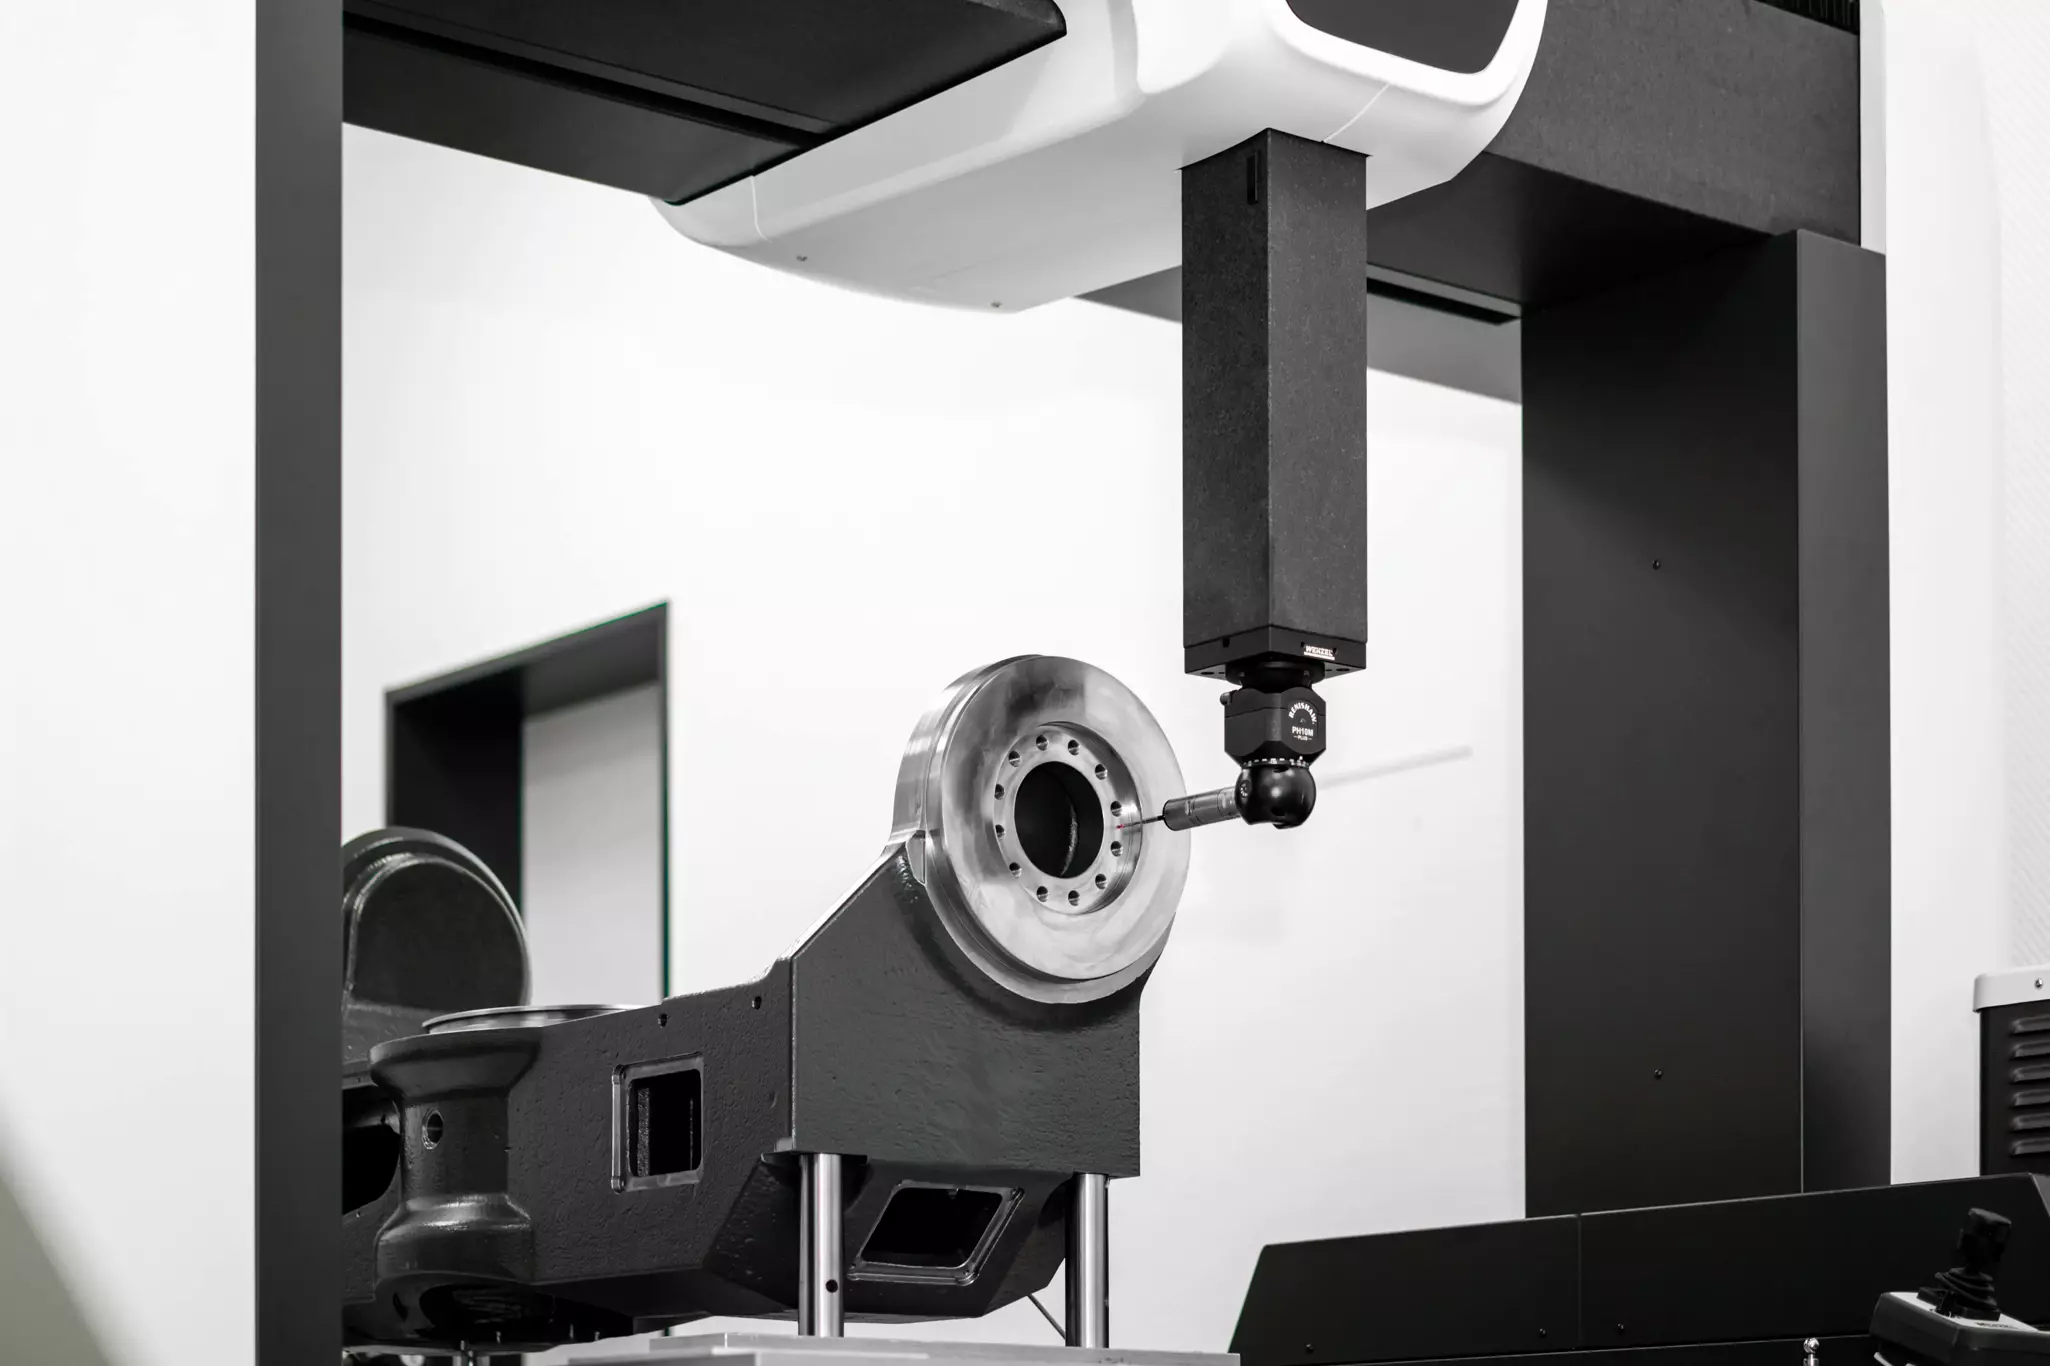
3D measuring sensors, tool measurement sensors and tool lasers can be used for various applications, such as preparatory, regulating or monitoring measurement. During preparatory measurement, workpiece dimensions, angular errors or clamping errors are determined. While control measurement automatically reacts to material problems, system-related process deviations and unplanned events to ensure that the process is as successful as possible, monitoring measurement logs the machining result.

3D infra-red measuring sensor

Tool setter

Laser control system

This is your new CNC machining centre made in Germany.

FORTE 11-3600

Travel paths (X/Y/Z)
Travel paths
3600 x 1100 x 1005 mm
Contact surface
Contact surface
Contact surface
2 x 1990 x 1100 mm
Fixed machine table max. load
Load fixed machine table
5000 kg

CNC control

Spindle

Set-up options

Tool magazines

Cleaning accessories

Measuring and touch probe systems

HEDELIUS 3-Achs-Bearbeitungszentrum FORTE 11-3600

You are interested in a new HEDELIUS machining centre. We will be happy to make you an offer, e.g. for a CNC machining centre, an automation solution, etc. from HEDELIUS Maschinenfabrik GmbH. We would be happy to demonstrate the output of our CNC machining centres in a practical demonstration or via video live stream.